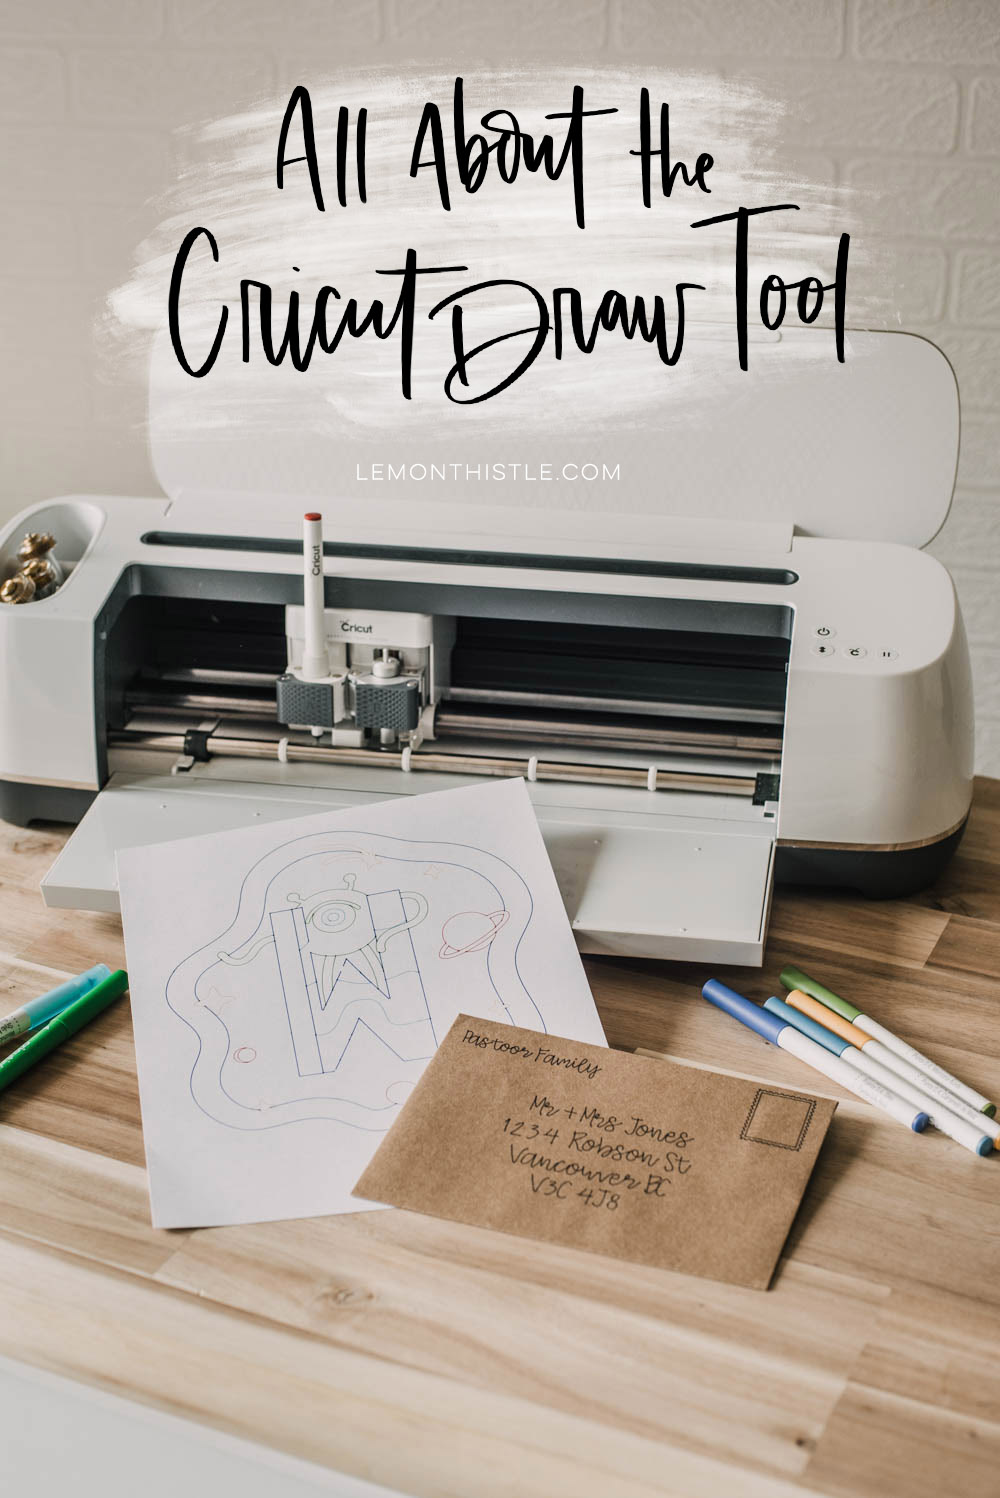
How to Use Cricut Design Space for Creating Recipe Cards
Tackling how to use draw in cricut design space along with what the heck you can do with it. From using writing fonts in cricut design space to separating a file into multiple colours and addressing envelopes with cricut pens.
Alexis and I are back with another Silhouette VS Cricut video (and blog post!) and this time… we're talking about the draw or write or sketch tool! In this series, Alexis from Persia Lou and I are comparing the Silhouette and the Cricut machines to give you insights into how they work, the design software, and the different materials that they can cut. We're not so much talking about which is better, but the different features and what they can do.
So I'll start off with some honesty- this isn't a feature from Cricut that I use often. I have used it a few times in projects I've created over the past few years but considering how much I use my machine? It's pretty rarely used. Since I love my hand lettering– I don't use it for things I think that it's most used for. Like addressing an envelope, or writing someones name in a beautiful script. I'd rather just do that by hand. If you love using the pen tool, I'd love to hear what you create with it!
In this video and blog post, I go through how to put together a print and cut file using a Cricut image and Cricut Writing Font, I cover how to letter on a surface that is not a cut file (ie. an envelope or pennant), how cut files transfer to draw files, and how to separate a file into multiple colours. Phew! It's a big list!
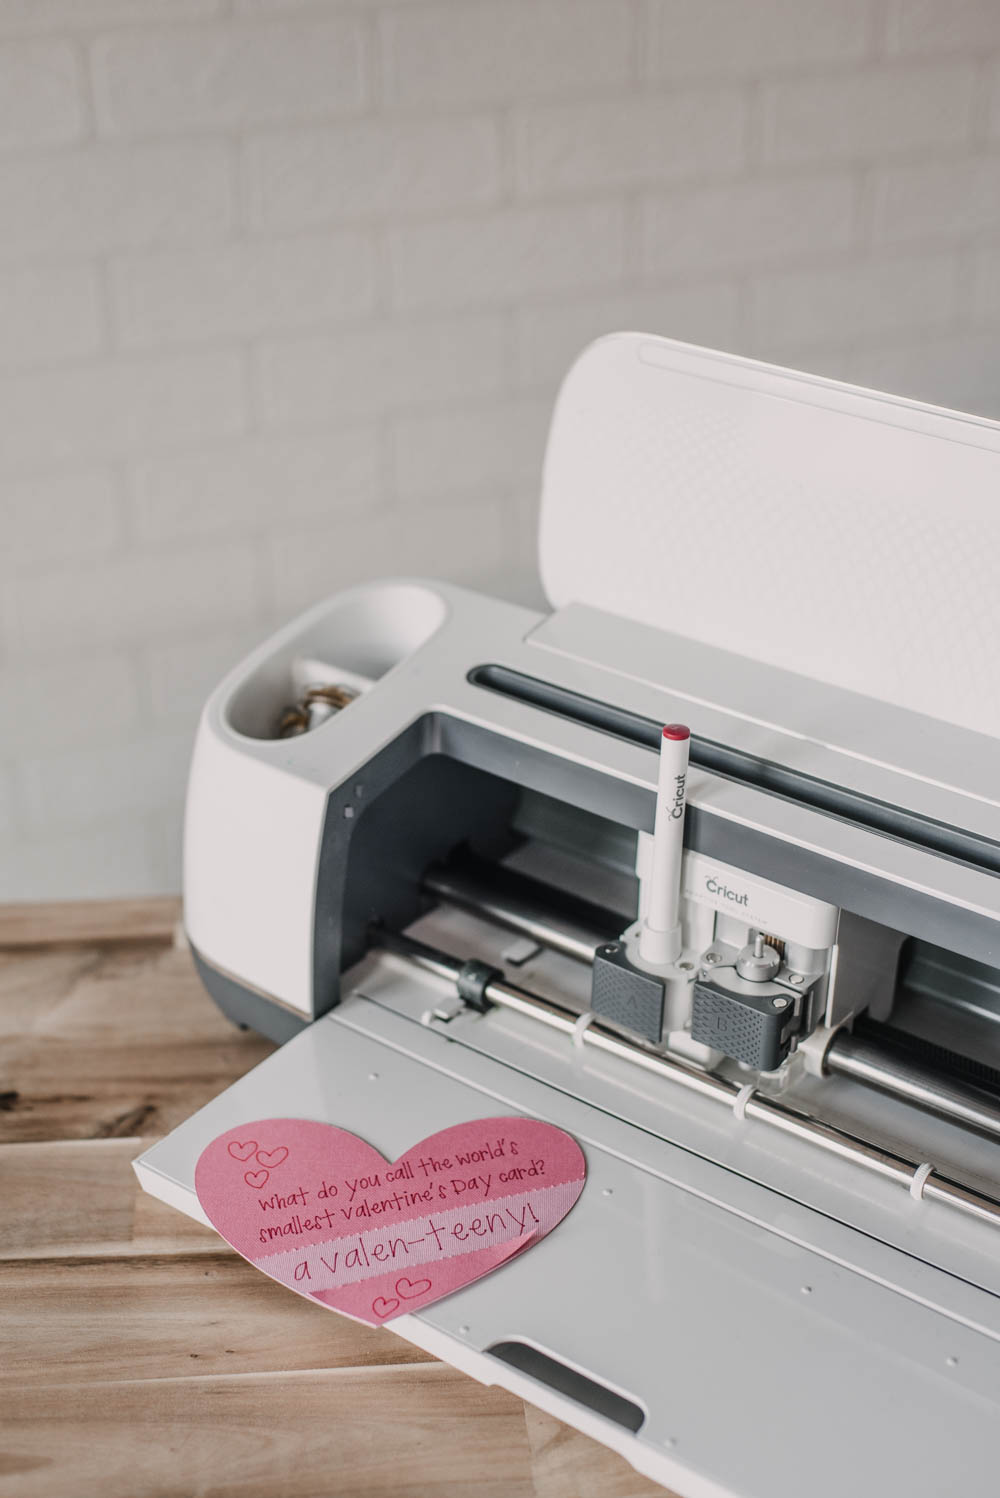
If you would rather watch it in video form… check it out! And while you're over there, I'd love if you subscribed :) I find it's easier to follow the process in video but if you'd rather read (I see you, in the lunchroom at work- ha!), I've got you covered with the written post below.
What is the Cricut Draw Tool?
Cricut machines have two clamps for tools- one for a blade style tool (Clamp B) and one for a pen style tool (Clamp A). At least this is true for the two machines I've had (Cricut Explore and Cricut Maker)! You cannot put a blade in clamp A just like you can't put a pen in clamp B. You'll figure this out pretty quickly if you are creating a project that requires 2 pens and it tells you to load one at a time. Clamp A also houses their older scoring tool which is the scoring tool needed for the Cricut Explore.
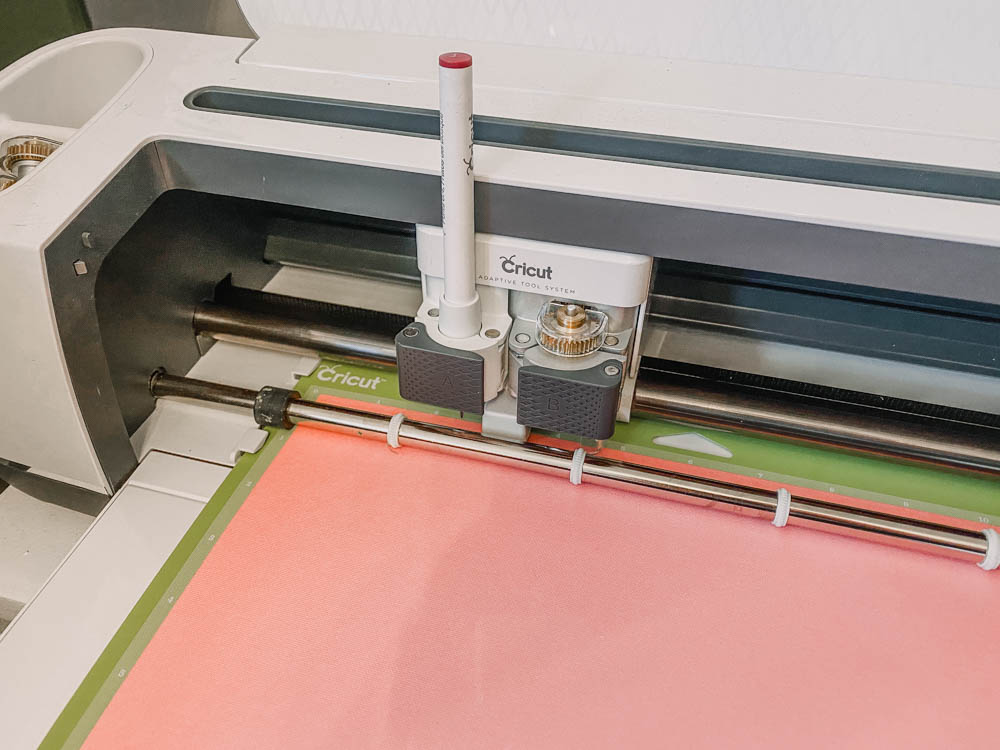
The cricut draw tool uses the same mechanics of the cutting that you're used to- just with a marker. As the name would suggest, it draws instead of cuts. There's some limitations on this but it's pretty cool if you're looking to draw some things! I could see this being great for scrapbookers, replacing lots of stamps with the wide variety of designs in Cricut Design Space.
How to Use Cricut to Cut AND Draw
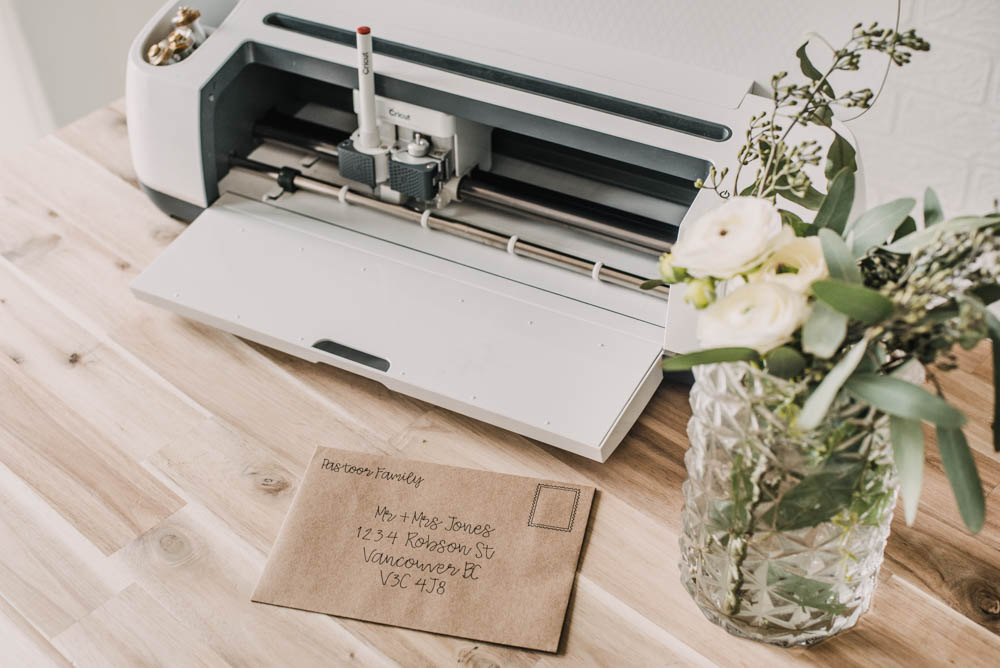
The first project I wanted to demonstrate for you is how to use multiple tools with your Cricut. In this project I used the fine point blade (the one that comes with your machine), the scoring tool (adaptive tool for the Maker), and a fine point marker. I created this little envelope out of card stock. I love using double sided scrapbook paper for custom envelopes since you get the fancy look of an envelope liner with only one piece of paper.
This design is just one I found in Cricut Design Space and added the writing to. I sized my text to the envelope (you can resize the entire envelope and text after- keeping it all in line if you need to!) and chose a script font for the text. I chat in the video a bit more about writing fonts and Cricut Design Space capabilities. I'm going to skip over that here and chat about that in the next section of this post. But for the sake of this example- make sure to choose a writing font for your envelope. You can filter your search for this.
I also chose to add a stamp design to the envelope. I used a cut file for this and just changed the line type to draw. I talk more about that in another section too but it just changes where the machine would have cut to a line that will draw.
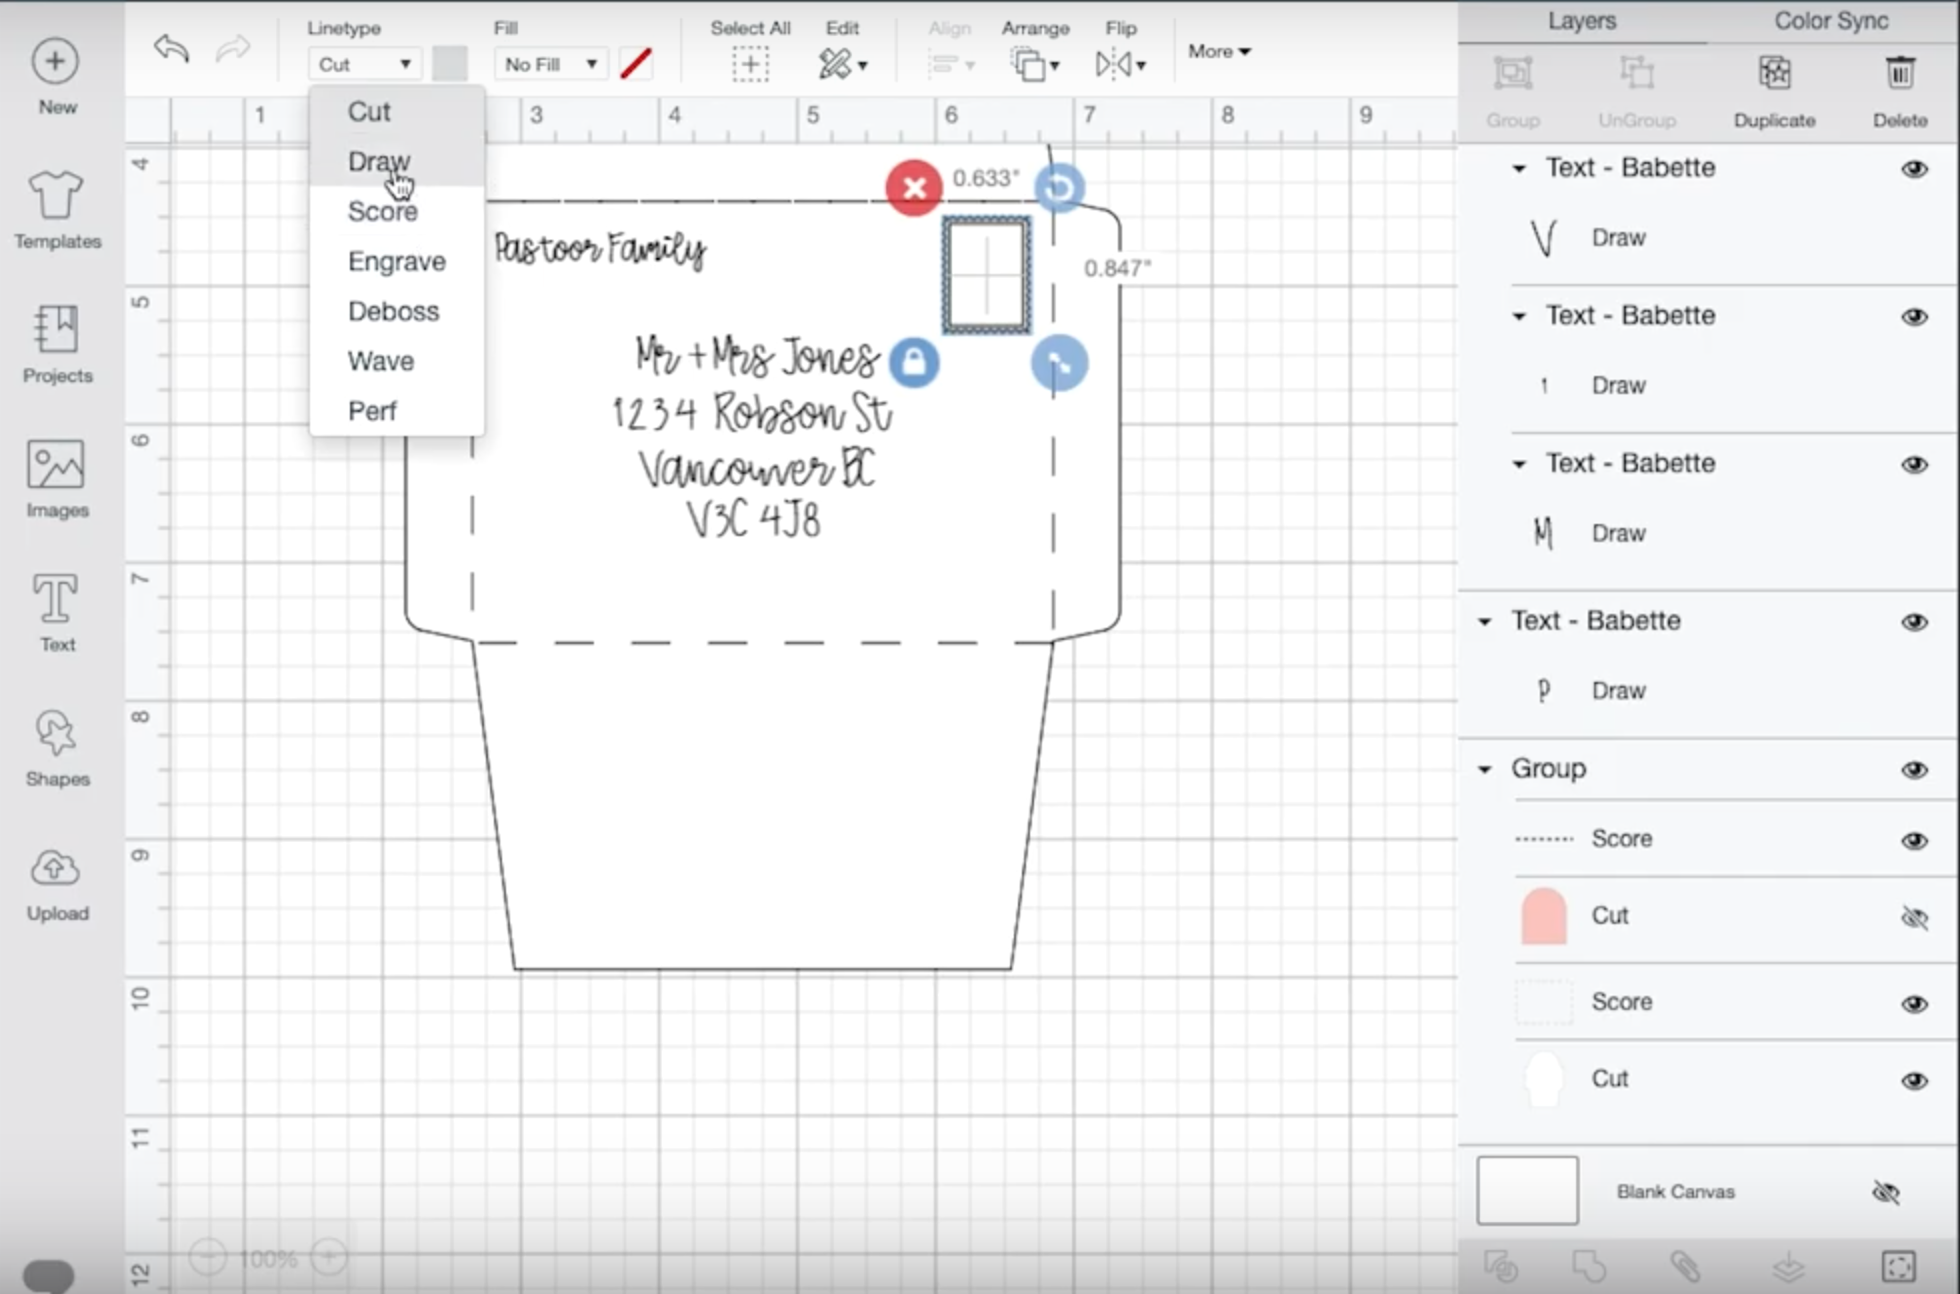
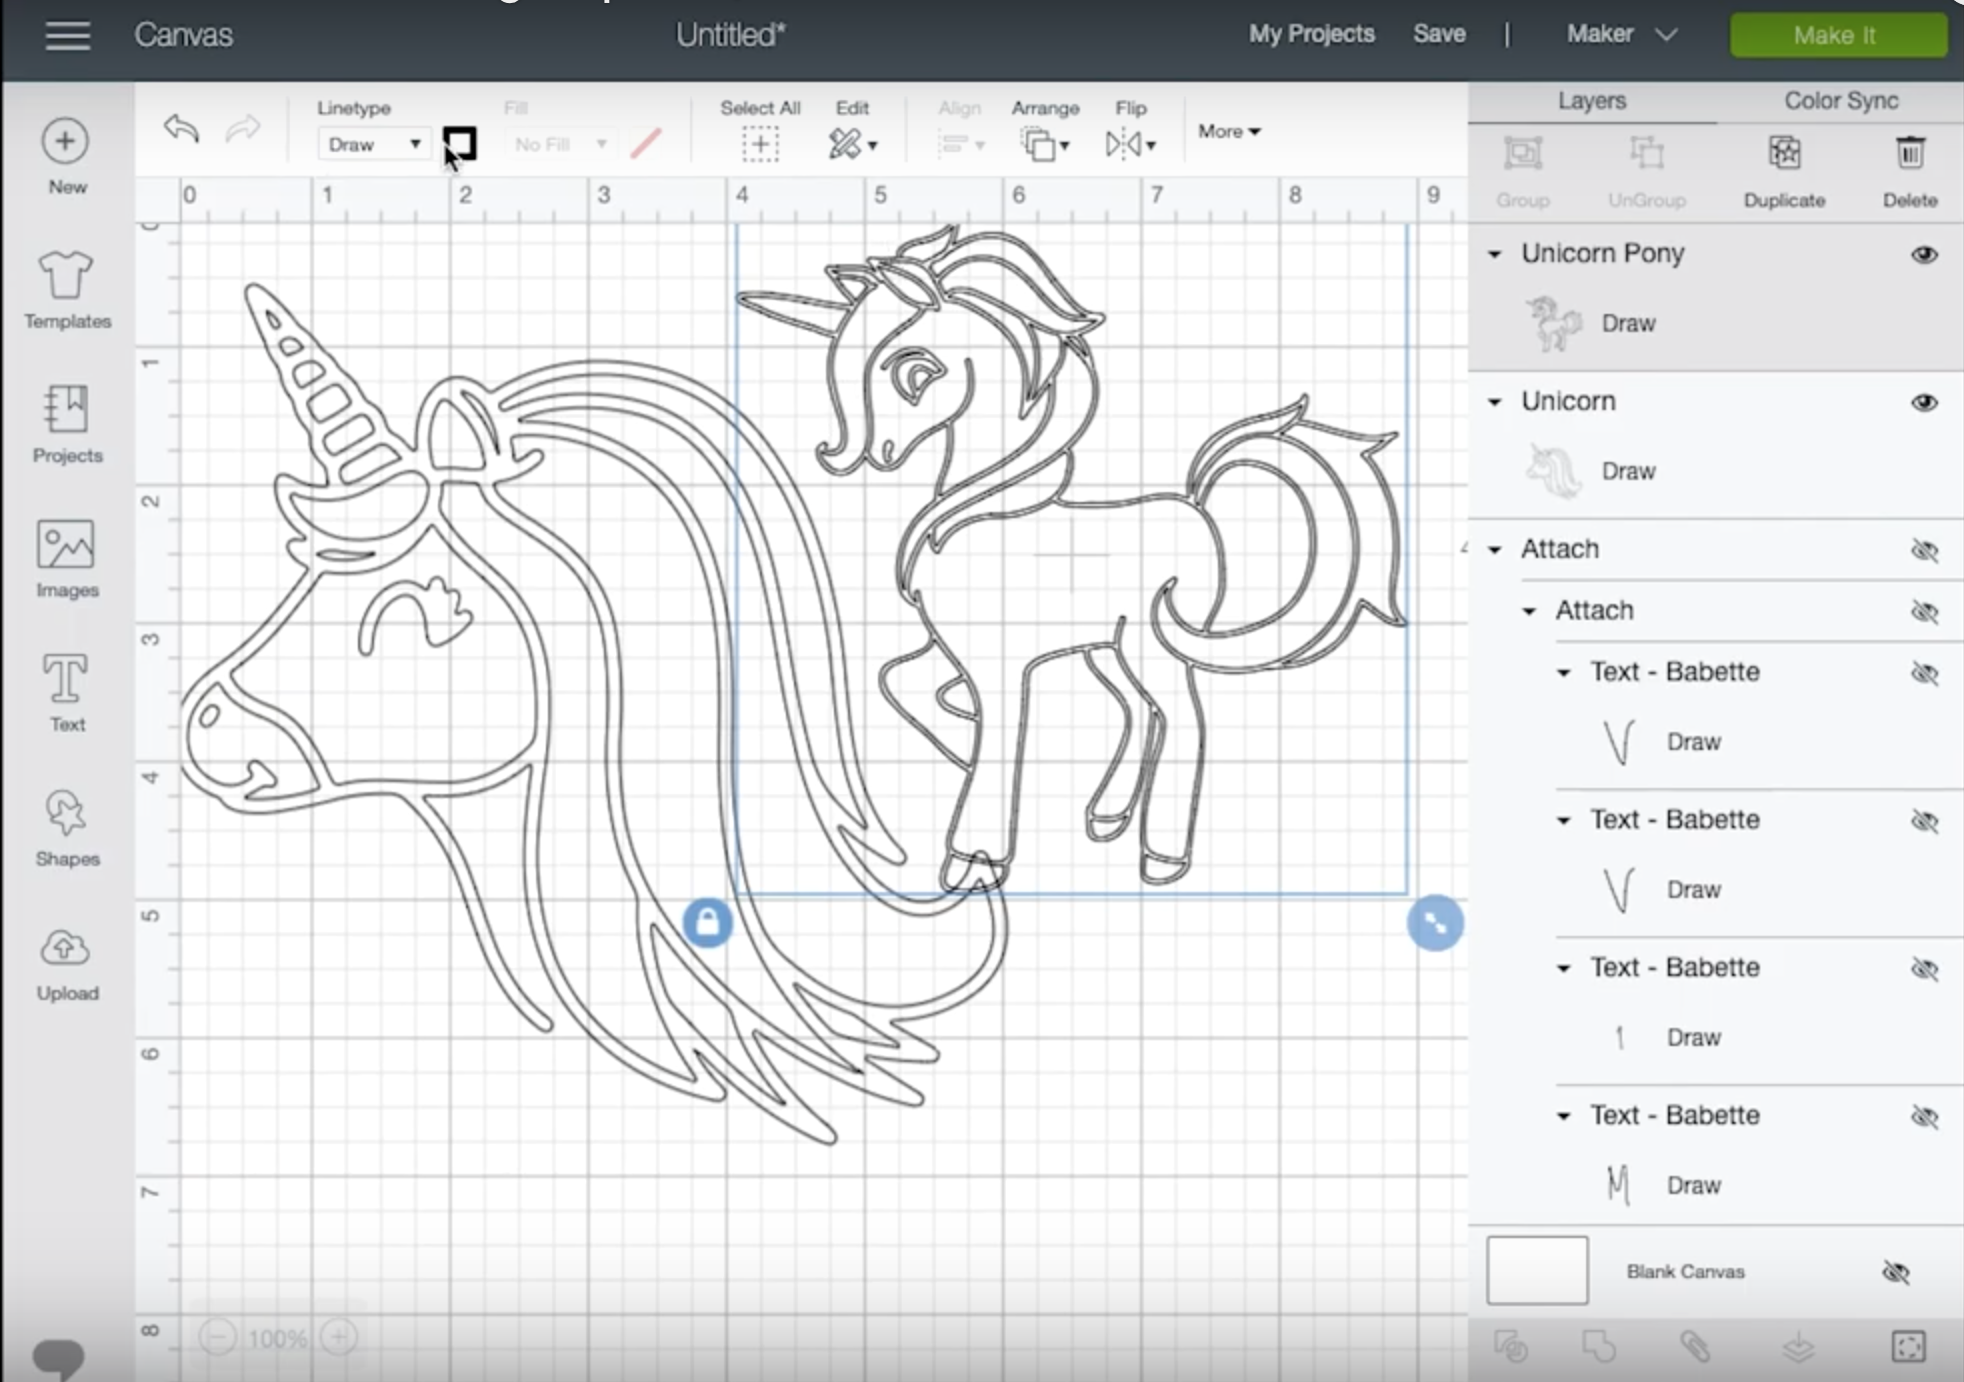
You will need to attach these layers together so the writing draws ON the envelope. Cricut will automatically space all the pieces of a design out as if it's cutting layers out of vinyl if you don't 'attach' them using the paperclip icon at the bottom of the layers panel. You can resize this attached design as much as you need before you hit 'Make it'. I also turned off the envelope liner in this design. You can turn on and off layers by hitting the eye icon in the layers panel.
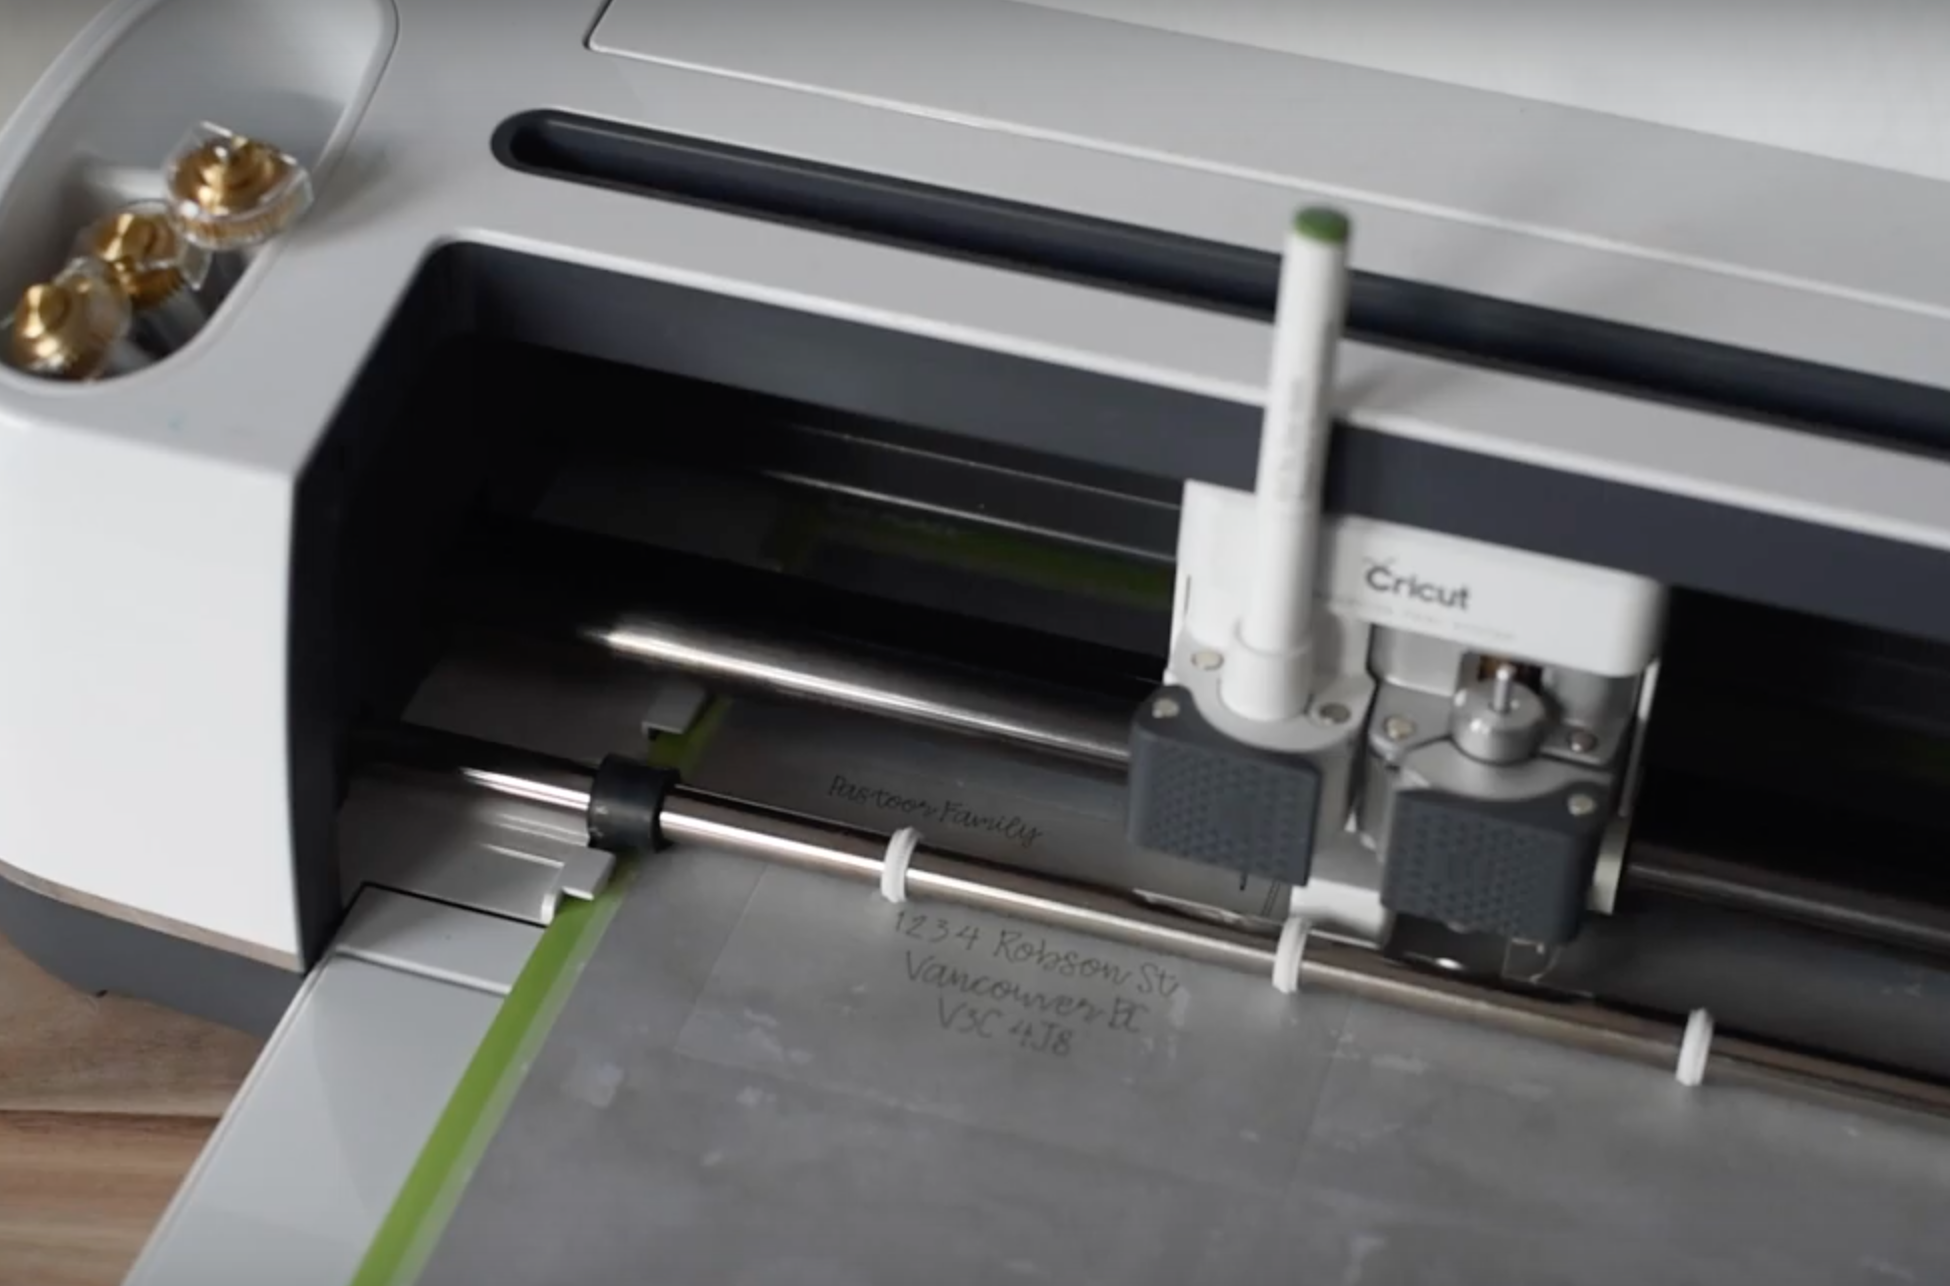
When you hit 'Make it', you can move your design around on your mat if you need. Then, you'll be prompted to put in specific tools first. For this design, it told me to put in my pen and my scoring blade. When it was finished that portion of the project, the machine paused and the software prompted me to put in the fine point blade. The machine never unloads to keep it all lined up.
Using the Cricut Draw Function with Fonts (writing fonts)
Okay so I said this in the video and I'll say it here… I love Cricut and the software but the one thing I find limiting and I do find frustrating? Fonts. On the plus side, you can cut any of your own fonts on the Cricut (woohoo!) and they have a huge library of fonts for you to use in their software if you're not a font hoarder like I am.
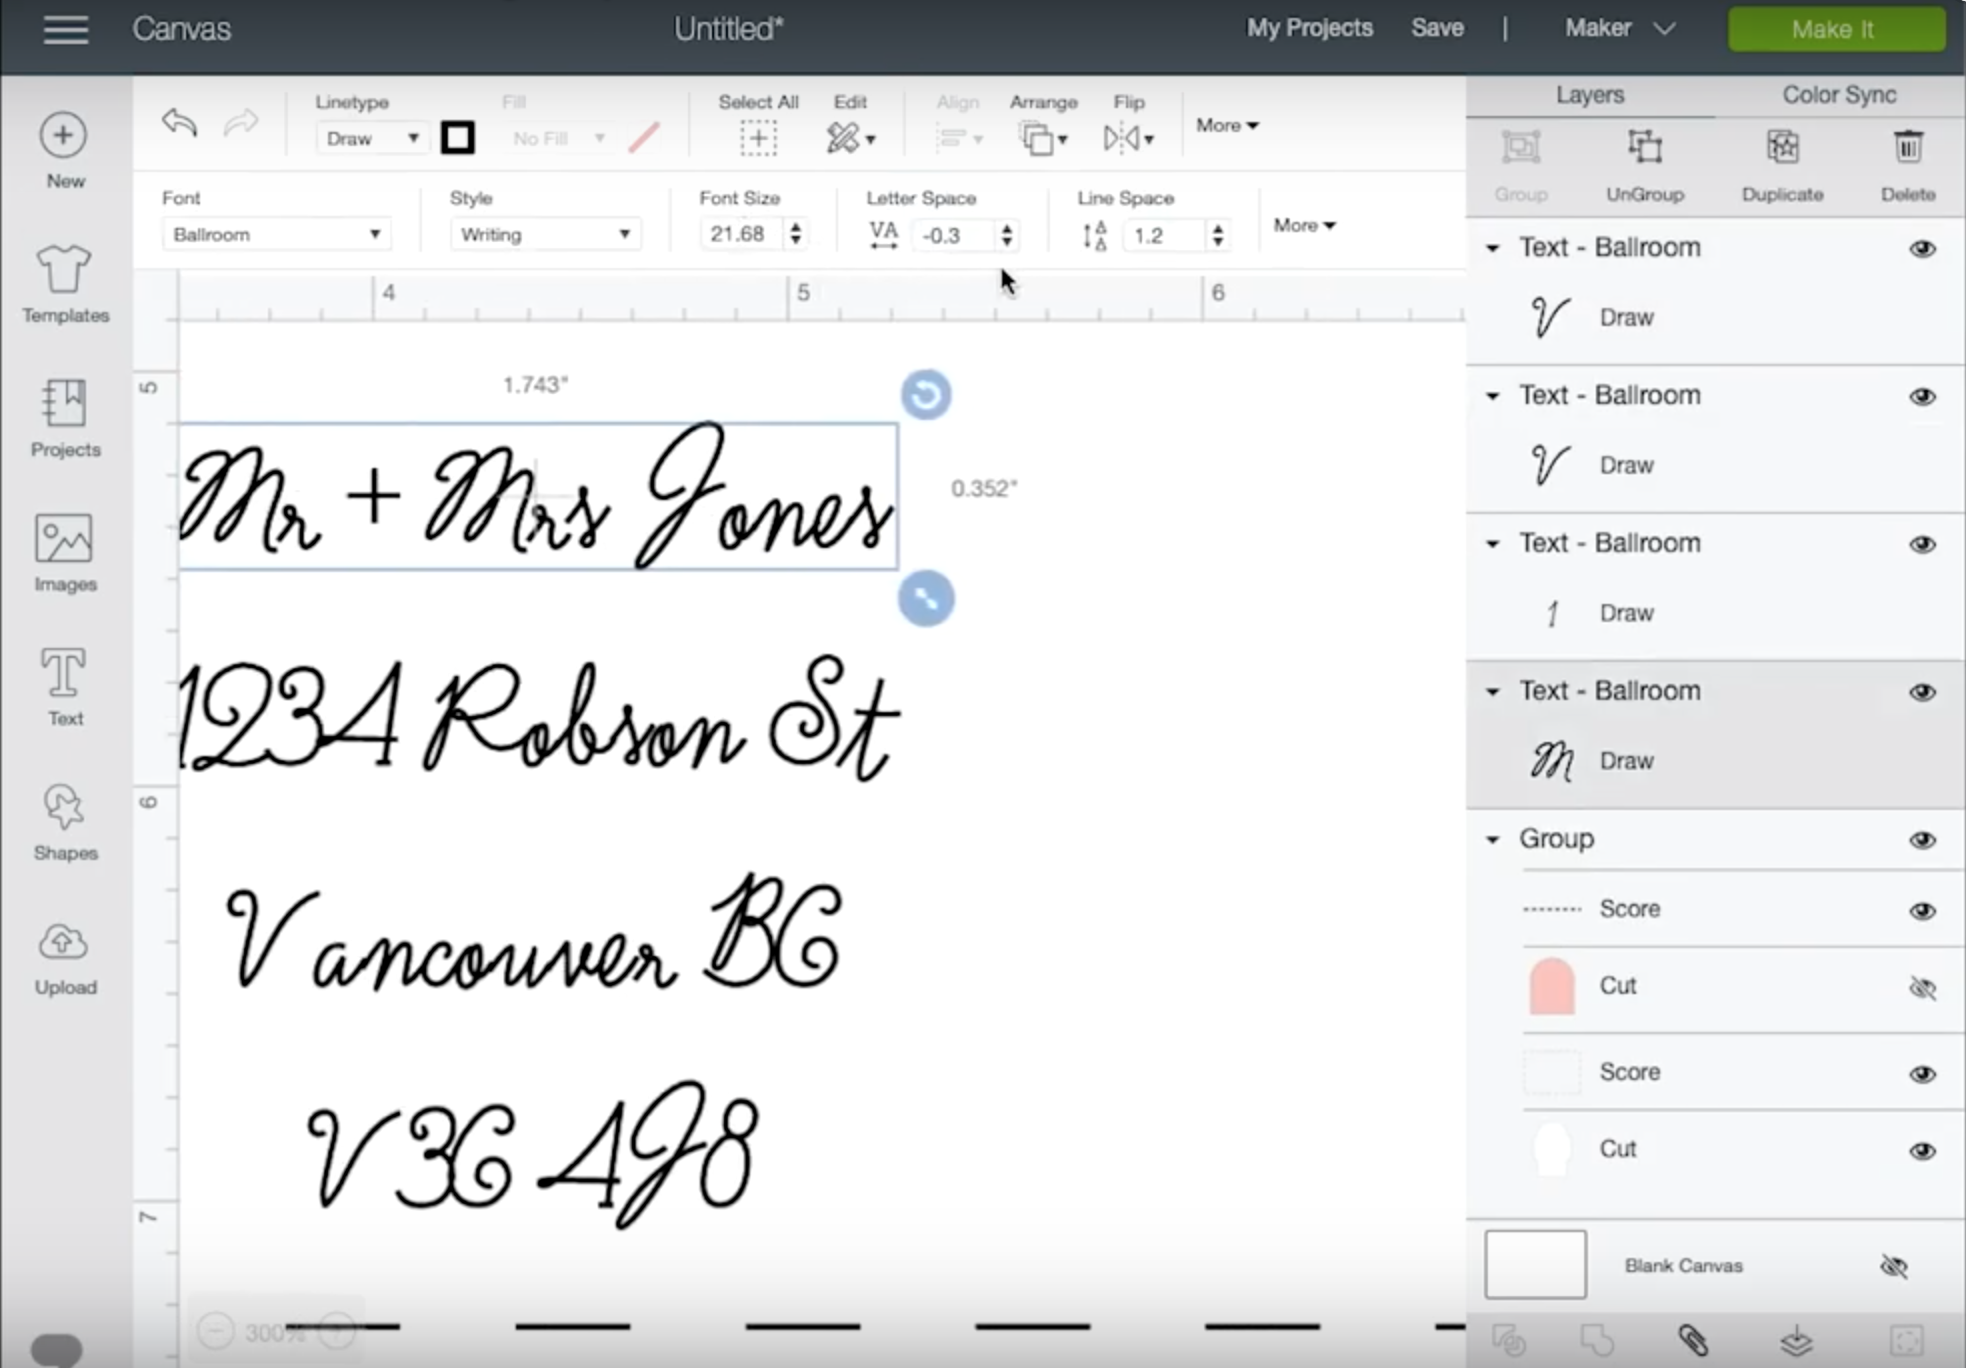
But… the spacing! This kills me! The machine spaces the letters so that it can cut them individually. Which, again, is great in theory… but then you'd need to place each letter individually on your design to get a great kerning back. They do give you the ability to adjust the spacing of your letters, but specifically with script fonts where the lead in needs to attach to the previous letter… it's obvious these aren't spaced out evenly, as adjusting the font spacing doesn't fully correct the issue. You can see this very obviously as I play with fonts on my envelope design.
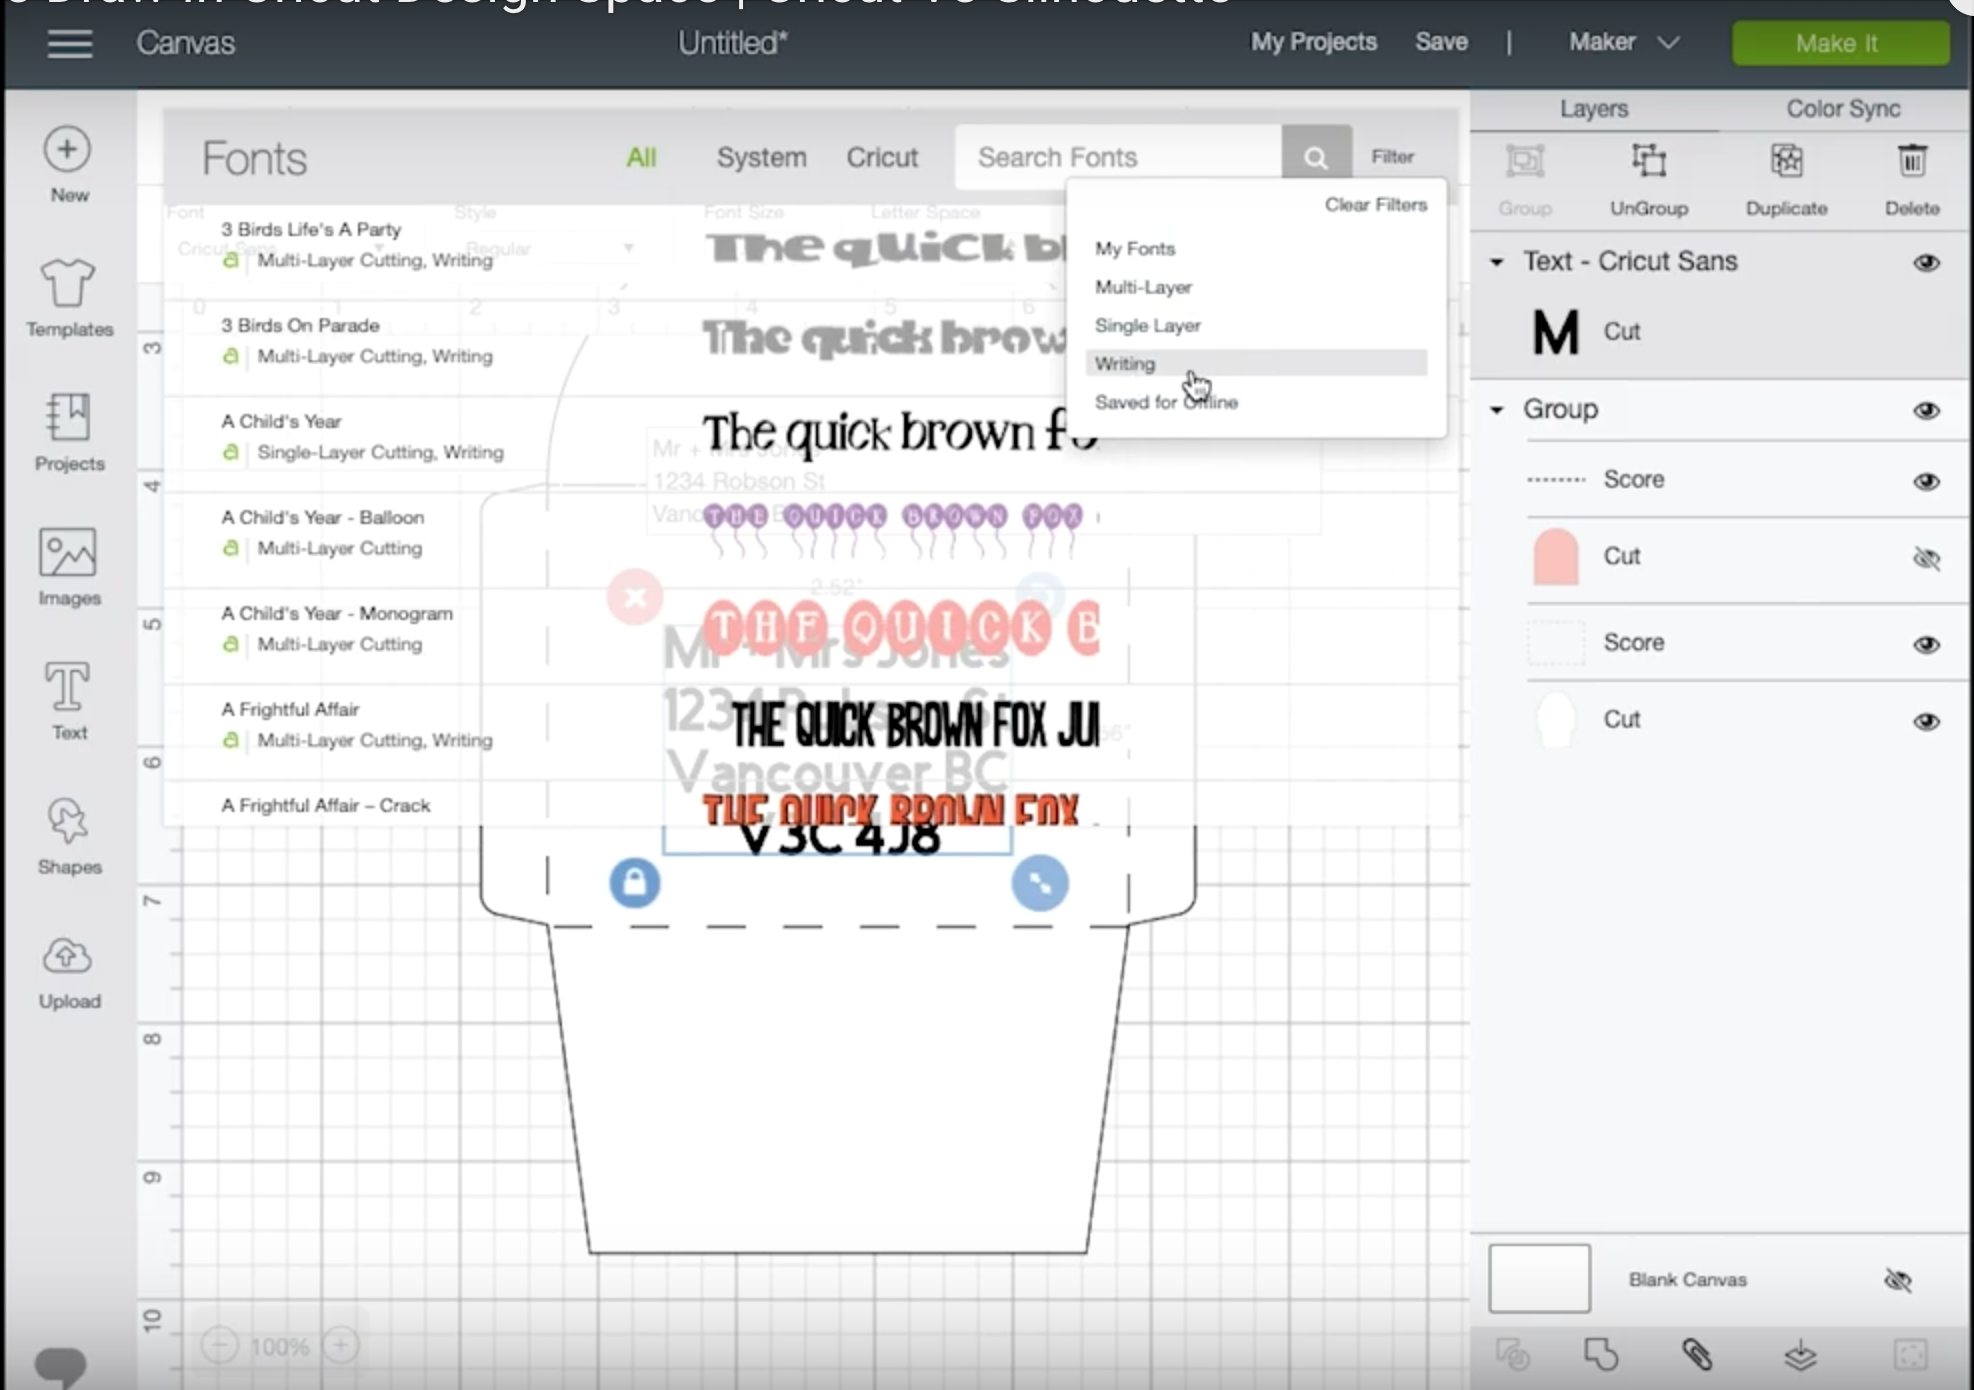
What fonts can you use with the draw tool? Cricut has specific fonts called 'writing' fonts that are meant for the Cricut draw tool and typically are just one line thick per letter. You can filter by them or you can select the font you love and pick the 'draw' line type from the drop down menu to see what it translates like as a drawn font.
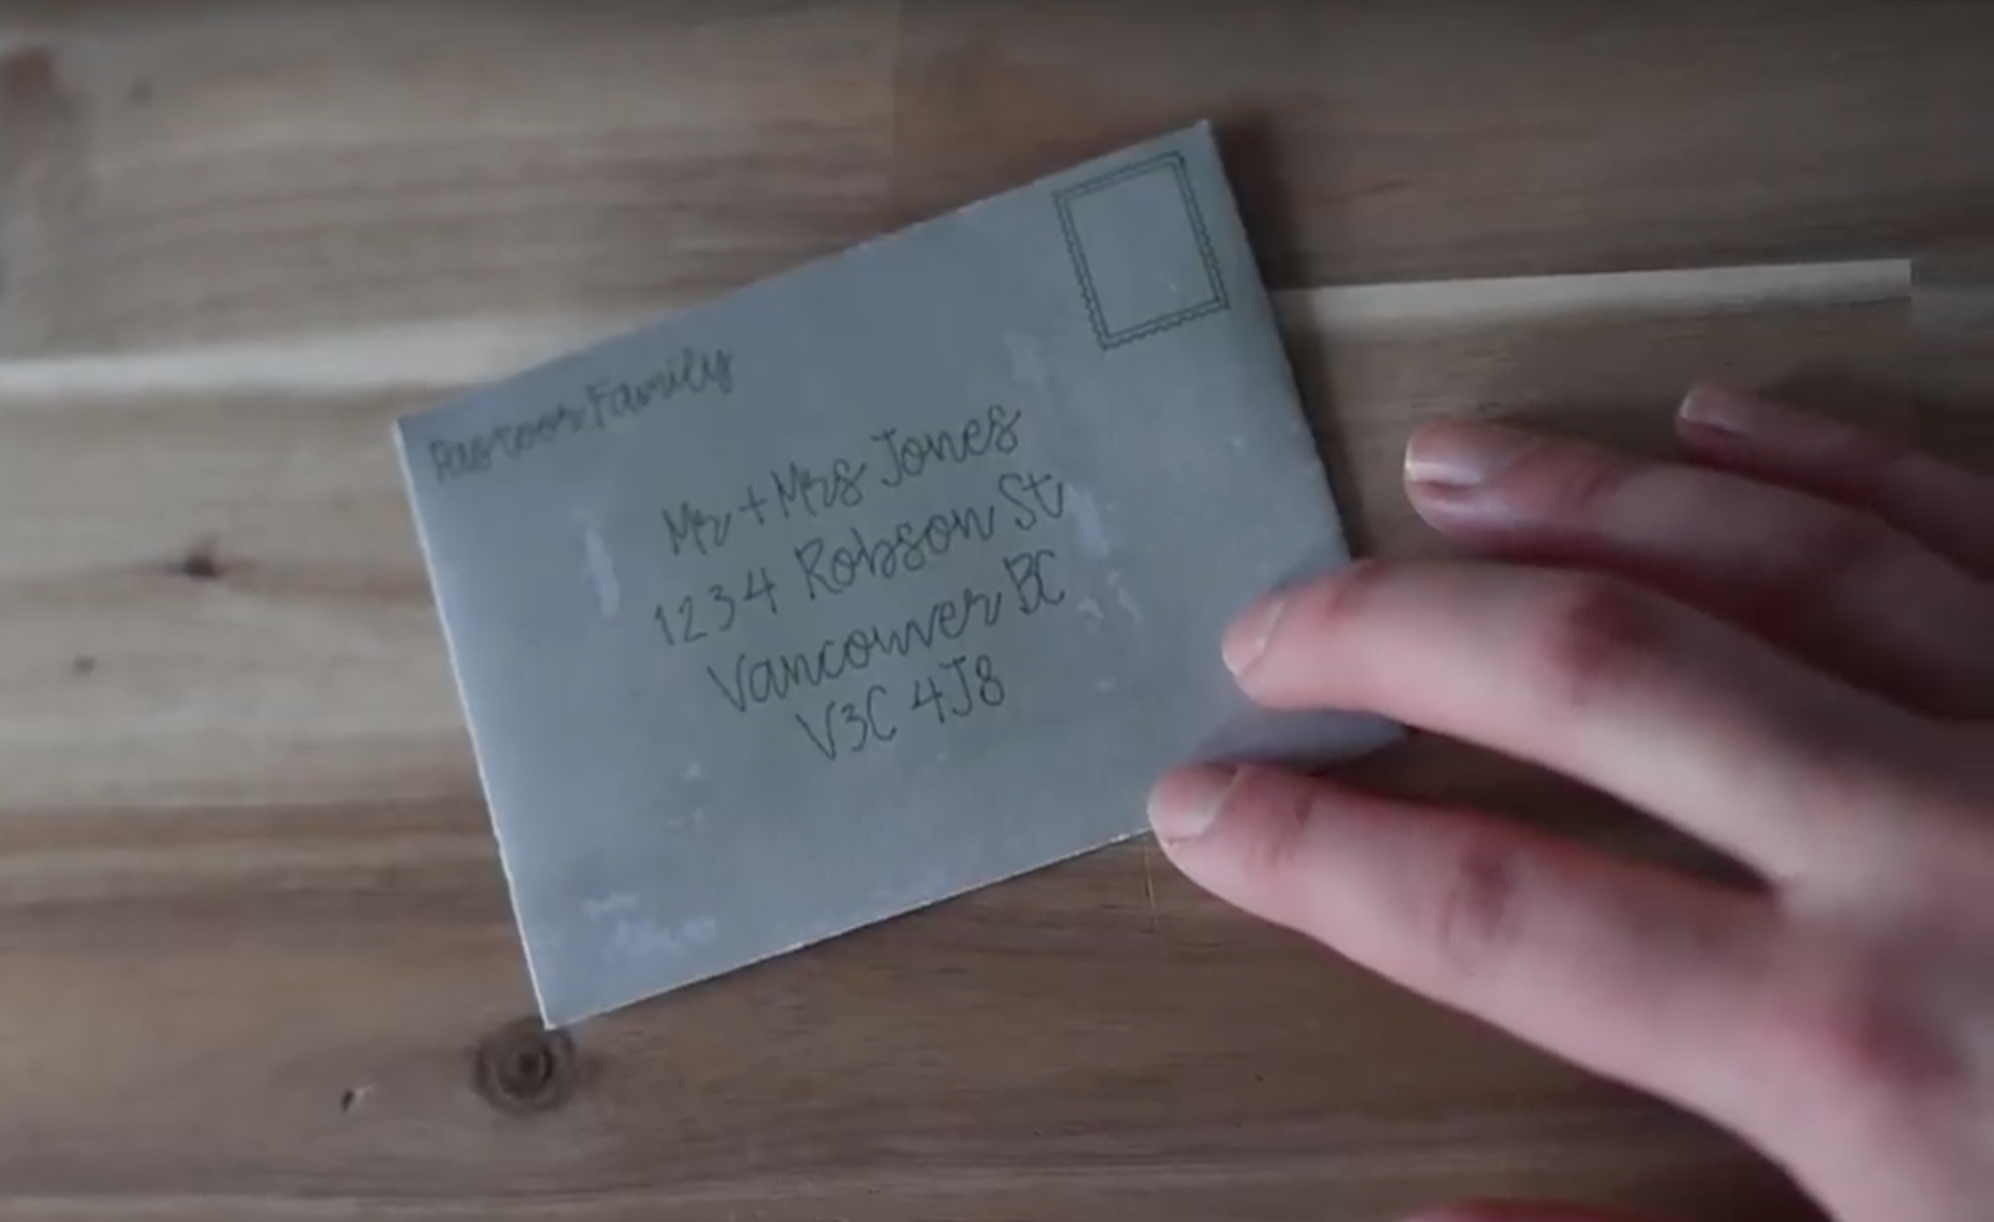
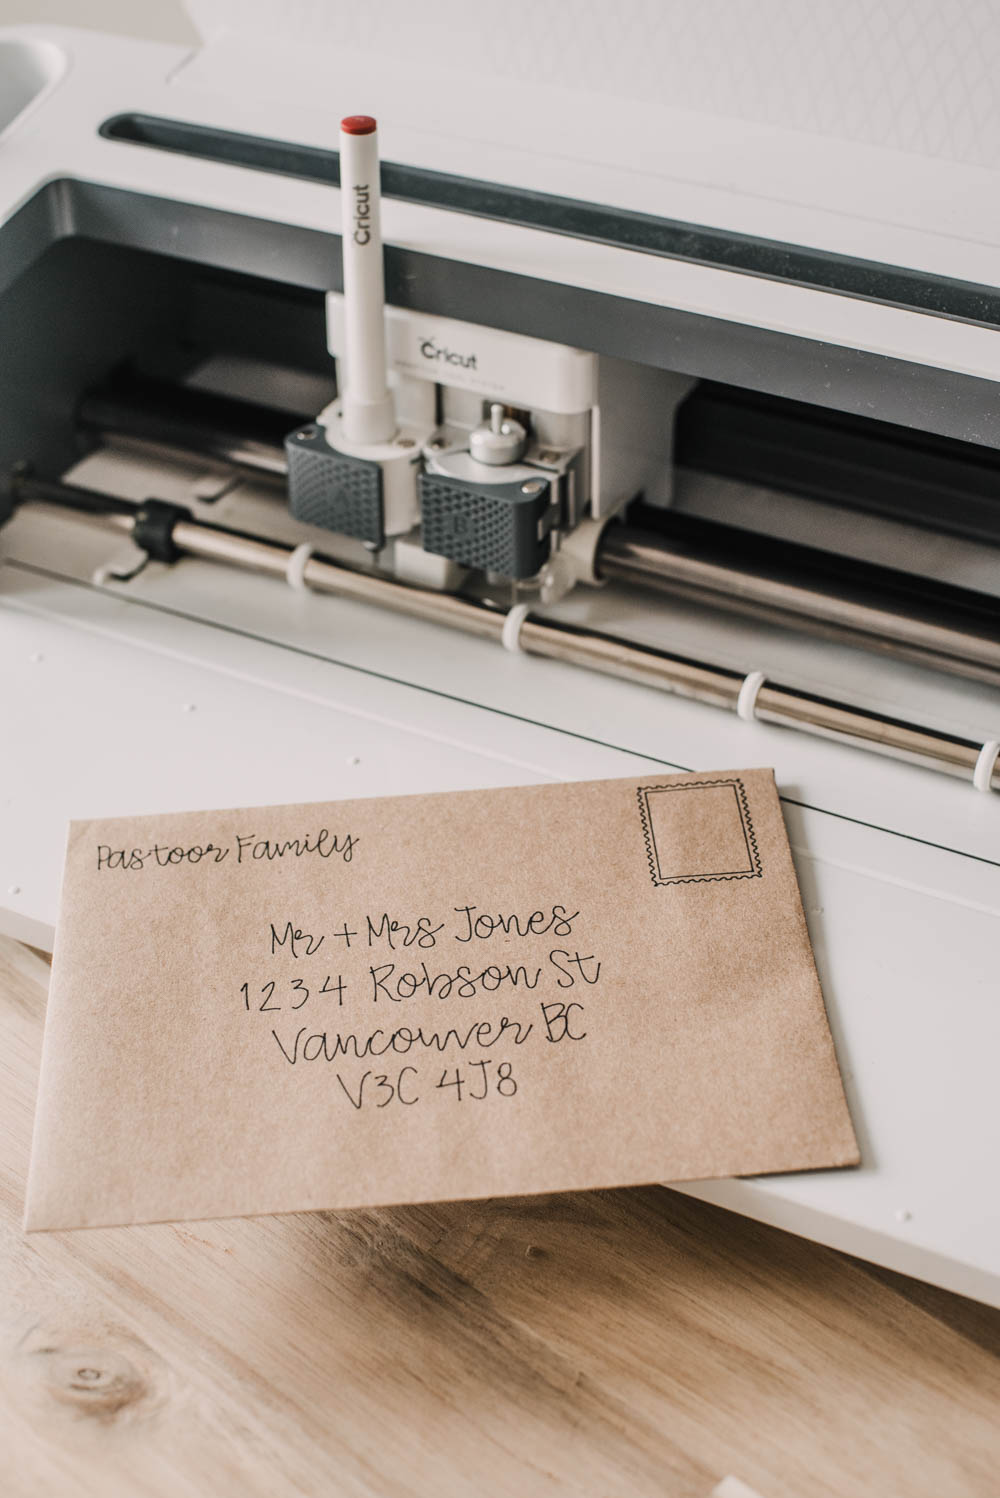
How to Address Your Own Envelope
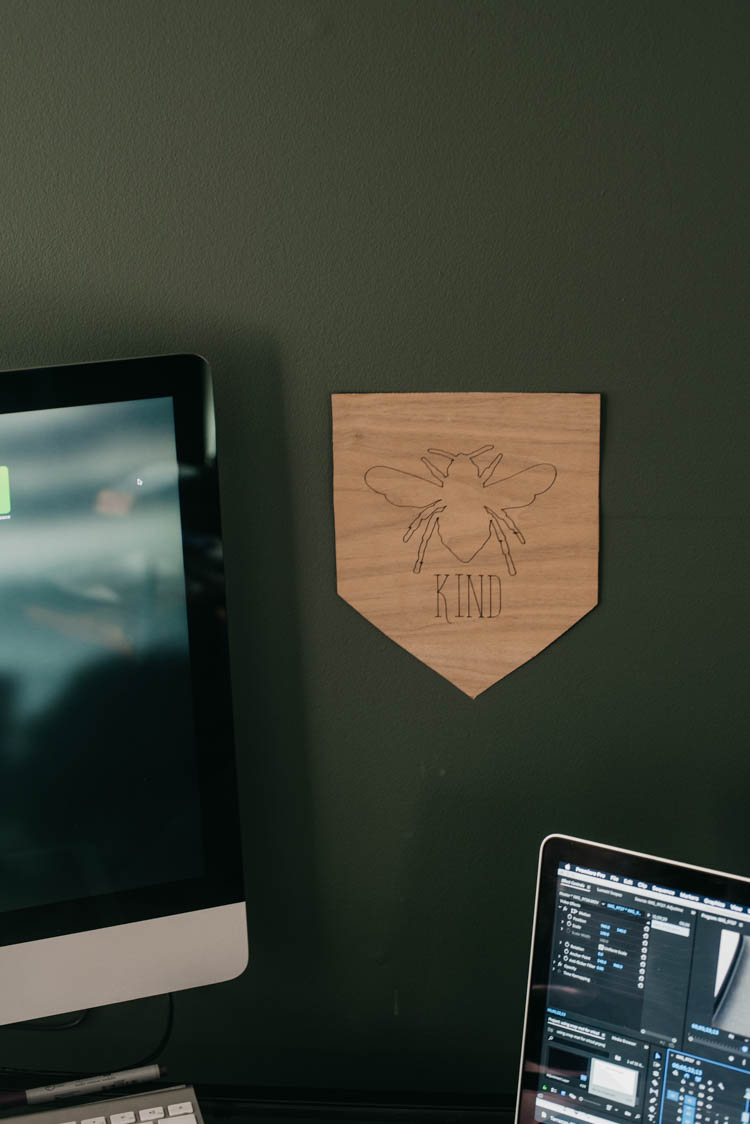
Okay so after I made my own envelope and addressed it in the last project, I thought it was a good time to show how to use the writing tool on your own surface! I have done this before in a Cricut VS Silhouette project. you can see my 'Bee Kind' Wooden Pennant I drew on RIGHT HERE.
For this project, I used the same address template I'd made in the last example. To edit any of the font, you need to detach the designs from one another (in the layer panel), edit your font or move things around, whatever you need, then 'attach' it again before cutting to keep it lined up.
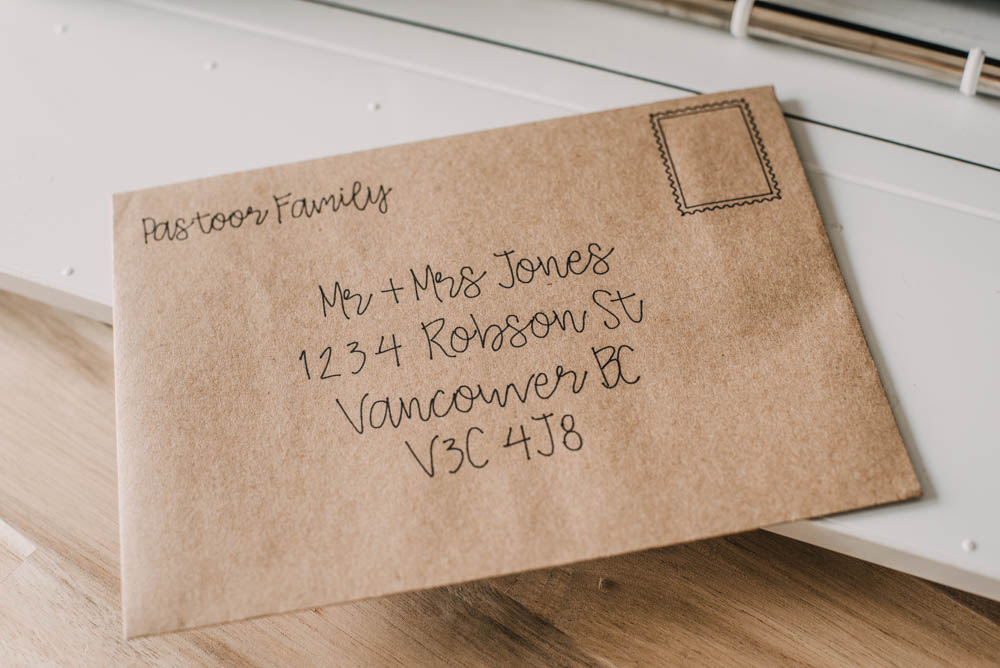
Once you hit make it, you can no longer size it but you can move it around on your mat. You'll definitely want to do this to make sure it's lined up on your envelope. If you wanted to do lots of envelopes at one time, I'd suggest using Cricut SnapMat to make sure that they're lined up well. I did a whoooole video and blog post about SnapMat RIGHT HERE.
Do you need to select the right pen and paper in Cricut Design Space?
When you're cutting using your Cricut, material selection is very important. It's what makes sure your blade will cut through your material cleanly, and that it won't cut through your mat… or the backing of your material, or whatever you're trying to do.
When you're using the Cricut Draw function, though? I have found it really doesn't matter… most of the time. As long as you choose one of the preloaded pens that's the same size (ish) as the one that you want to use, you're good to go. The machine won't detect which color you put in there ;)
You also can't select 'kraft envelope' so picking something like 'cardstock' works great. Just be aware that like any felt tip, using it on a super rough surface could fray the tip.
The drop down of pen options in Cricut Design Space also doesn't give you option for the washable fabric marker Cricut makes. If you wanted to mark on fabric, I'm chatting more about that below, but just choose a different marker and it should be fine.
Can you use a Cut File for the Draw Tool
The thing is, you can do whatever you want with Cricut. But some things just look nicer and are easier. Ha! So YES you can totally use a Cricut cut file for draw. But it will just change the cut lines to draw lines. Which is often great if you have a layered cut file but I shared a couple examples in the video where you can see… it's not that great. If you have a thinner design that looks like a draw design but is a cut file? You're going to double up each of your lines.
You can use the 'contour' tool (bottom of the layer panel) to turn off some of those lines, but it might not end up looking how you'd like (as in my example). I did do this for my 'Bee Kind' Pennant though and loved the look of just the outline of the bee. So it can work out… but it also can not. You'll have to play with your specific design to decide for yourself.
How to Separate a Cricut Design Into Different Colors
If you find a design you love in Cricut Design Space (or somewhere else!), you can definitely separate it out to cut or draw in different colours. This is the same process for a cut file that isn't already separated into layers as it is for a draw design.

The tool you're going to want to get cozy with is the 'contour' tool, found at the bottom of the layers panel. When you have your design selected, click 'contour' and you can choose which lines to ignore… or contour. You can either select the lines individually in the sidepanel to erase or click on the lines in the preview window. I chose a design with the worlds most lines to demonstrate this with… JK but actually it has SO MANY lines. If you have this many, you might find it easier to select 'contour all' and then only turn back on the lines you want in a certain color.
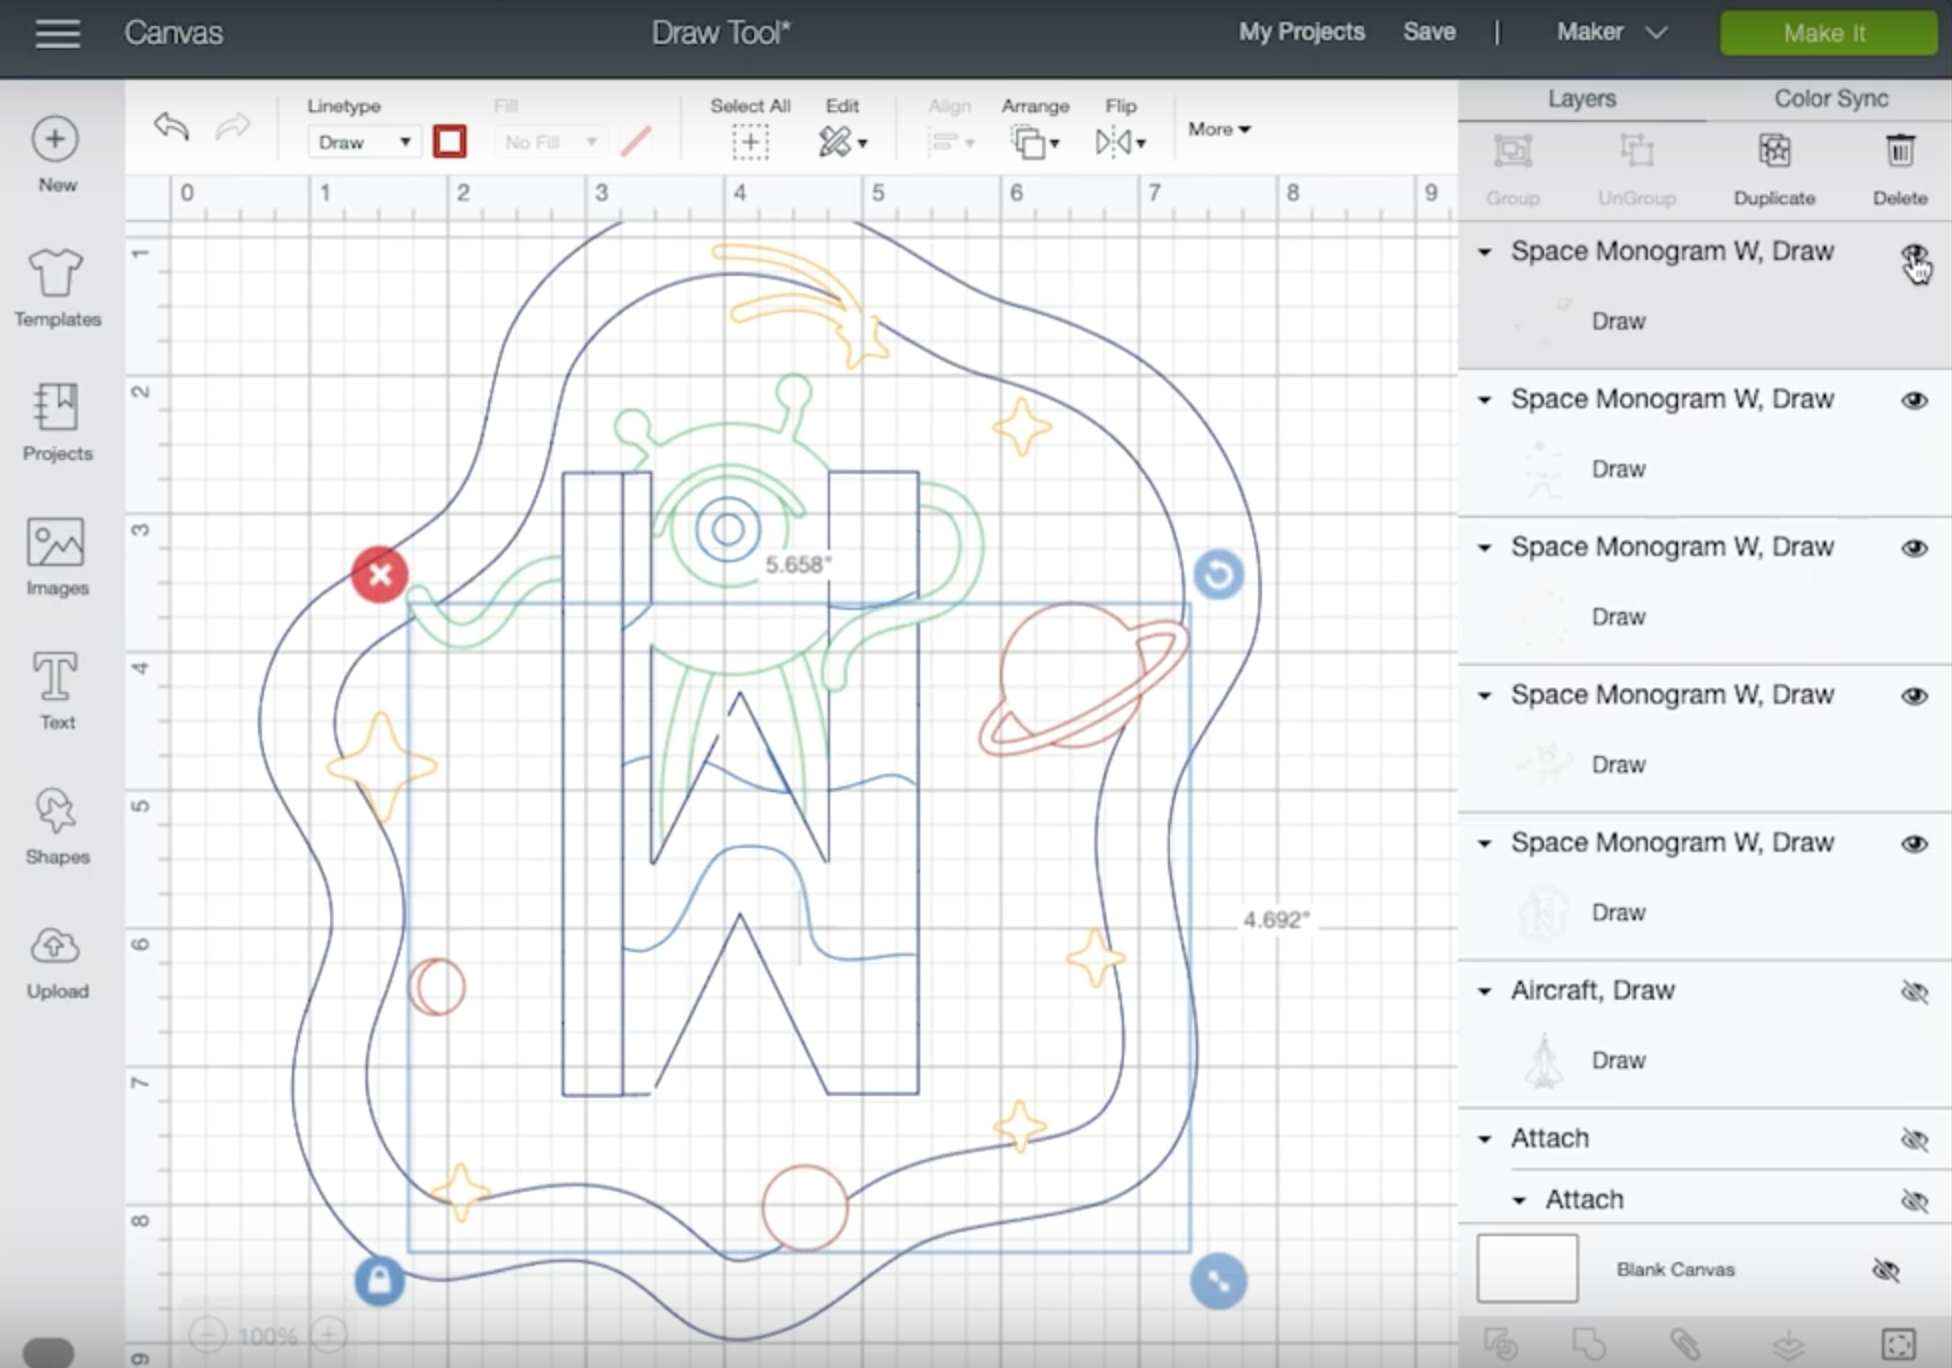
When you only have the lines you want in your first color turned on, hit the x on the countour window and see the changes reflected on your canvas. Change the color of the design to that first color you would like it drawn in (or one that is similar, remember it doesn't have to be exact but it will hep you remember which pen to put in when). Then, copy and paste your design so you have two. Line them up perfectly, then hit contour and click your contours until you have only the parts of the designs you'd like in your second colour and so on. Do this until you have all of your colours done! You can see this being done in the video if you like.
When you are happy with your design, select all the layers of your design and click 'attach' to make sure they all draw together. Then click 'Make it!'. If you forget to click 'attach' you will know because it will try to draw it on several mats. When you are making it, it will tell you which pen to put in when, it will do this all without unloading the design.
Using the Infusible Ink Pens + Washable Fabric Pen with Cricut Maker
Okay so two other types of pens that Cricut makes that I have used (although didn't demonstrate for this video) are the Infusible Ink Pens and the Washable Fabric Pen. The Washable Fabric Pen is used with most Cricut sewing patterns you can cut with the Maker. It can be used to mark the pattern right onto your fabric for you. You could also throw it in the Maker to write instructions on fabric to have it washed out later. I could see this being great for gifts. It is not one of the available markers in the drop down menu but as I mentioned earlier, you really don't need to choose the exact pen you're working with for it to work.
Infusible Ink pens are meant to be used on laser copy paper and then that design on paper be transferred to an Infusible Ink blank. I haven't written any posts on Infusible Ink YET but it's coming! In the meantime, my friend Cori has such great tutorials for it- check this one out!
And as for OTHER pens? You can definitely use non-cricut brand pens in the Cricut machines but I couldn't find any pens I owned that fit. However… Jennifer Maker has a very informative video about different pens to use right here!
Phew! What a big post! I'm going to leave it at that. If you have any other questions about the Cricut Draw Tool, you can drop them in the comments and I'll try to get an answer to them!
Want more Cricut Tutorials? Check all mine out here!
How to Use Cricut Design Space for Creating Recipe Cards
Source: https://www.lemonthistle.com/how-to-use-draw-with-cricut-design-space/
0 Response to "How to Use Cricut Design Space for Creating Recipe Cards"
Enregistrer un commentaire