Is There a Way to Paint a Mirror So It Reflects Again
Today, I'm sharing how to properly pigment a mirror!
I know many of you can relate to today'southward makeover. Y'all hang onto something because yous know yous tin exercise something with it, simply you lot have absolutely aught want to really do so. Am I right?
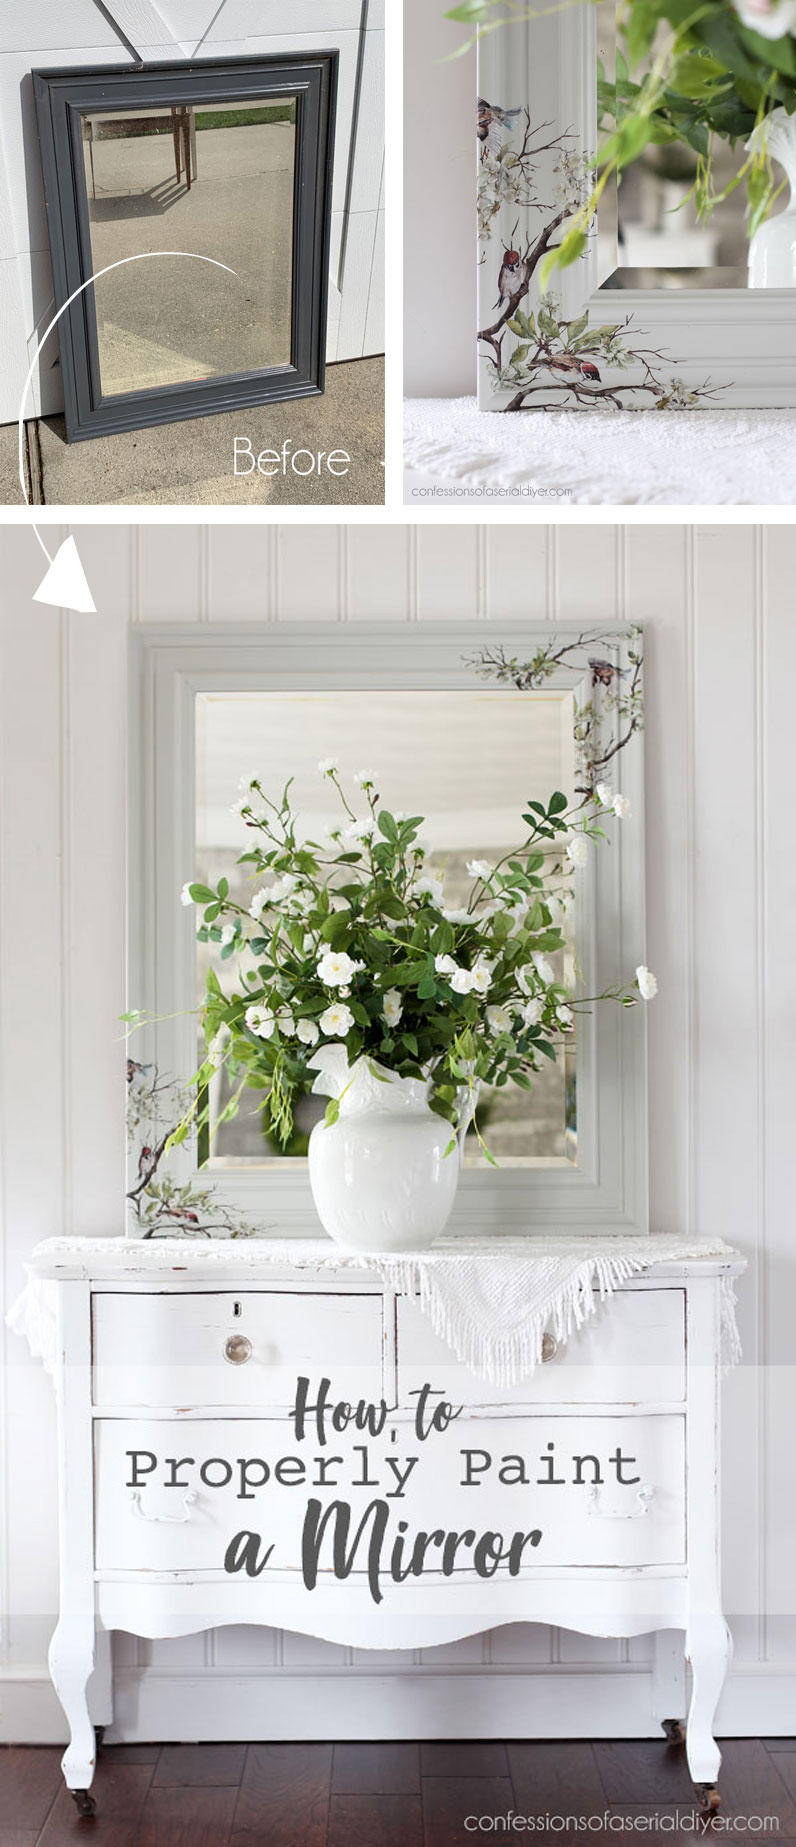
Amazing friends, this mirror is ane of those pieces for me:
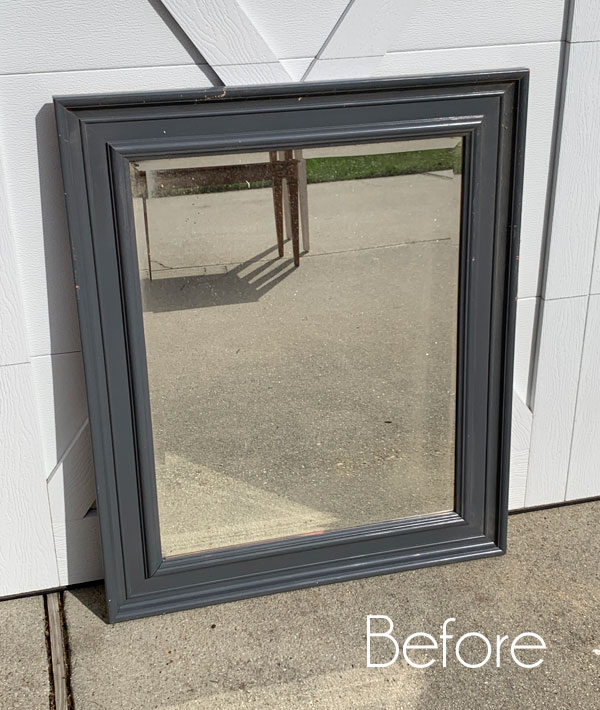
It came with this dresser that Jack and I teamed upward on several years ago:

The dresser was only $30 and the mirror seemed oversized for the dresser, so we left it off. I was tempted to donate information technology on more than than ane occasion, but it has a nice beveled edge, so I just couldn't part with it. But then it sat. And sabbatum.
And yeah, looking at that photo higher up, you tin can see that this was taken at our sometime firm, so we actually dragged the mirror to our new house back in 2017! (We redid this dresser when Jack was in middle schoolhouse…he'southward in college now!!)
Well, today is the big day!
I'thou going to share a pretty mirror makeover AND how to properly pigment a mirror!
I've included a few affiliate links so you can find the products I honey.
Remove the mirror
To start this (and all mirror makeovers), I removed the mirror. I know information technology seems similar besides much work sometimes, but to practise information technology right, you know?
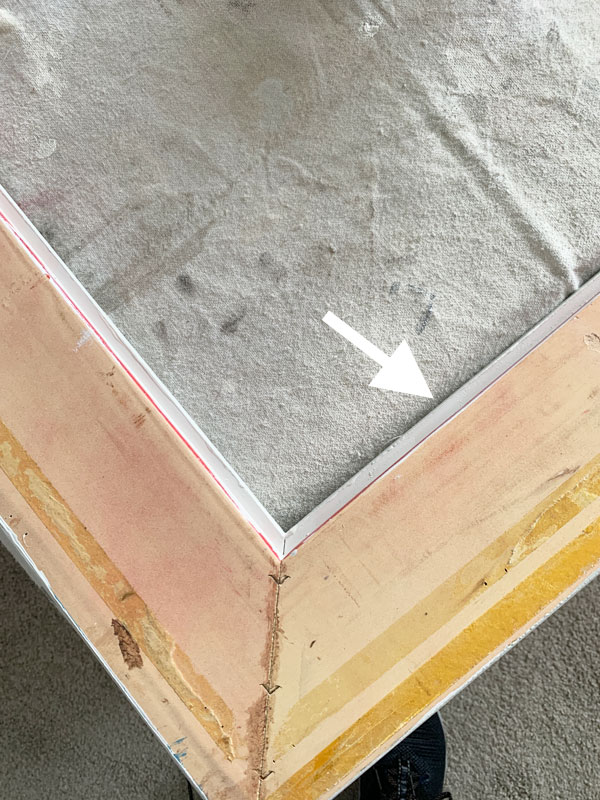
To practice that, I removed the paper backing and then pulled the narrow staples that were holding it in identify:
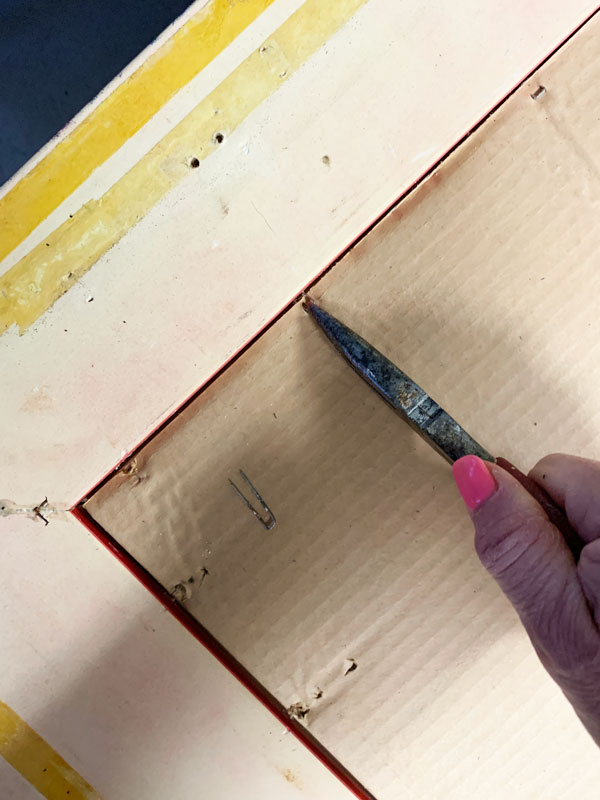
Sometimes in that location volition exist nails or metal points instead of staples, and if it is an older mirror, information technology may be held in identify with small pieces of wood that are nailed in place. All can be removed. Once I got these staples removed, I removed the mirror and put it in a safe place.
Proper prep for shiny surfaces
One of the things that was holding me back on this mirror was that it had what looked similar a heavily laquered finish on it. I knew I would need to prep information technology differently.
For a shiny stop like this, I would unremarkably sand it to give the paint something to grip onto. Now chalk pigment volition attach to just about any surface, but for laminate, metallic, glass, and heavily laquered pieces, a trivial actress prep doesn't injure, and I didn't desire to sand this surface because I didn't want to disturb the existing paint finish. Besides, I planned to employ the new Silk Mineral Paint on this piece.
A light sanding is recommended prior to using Silk, however, in that location is an alternative: Slick Stick:
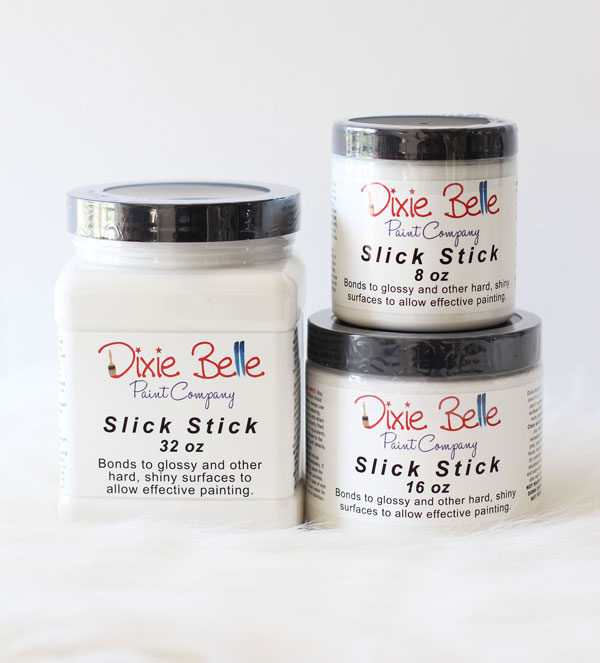
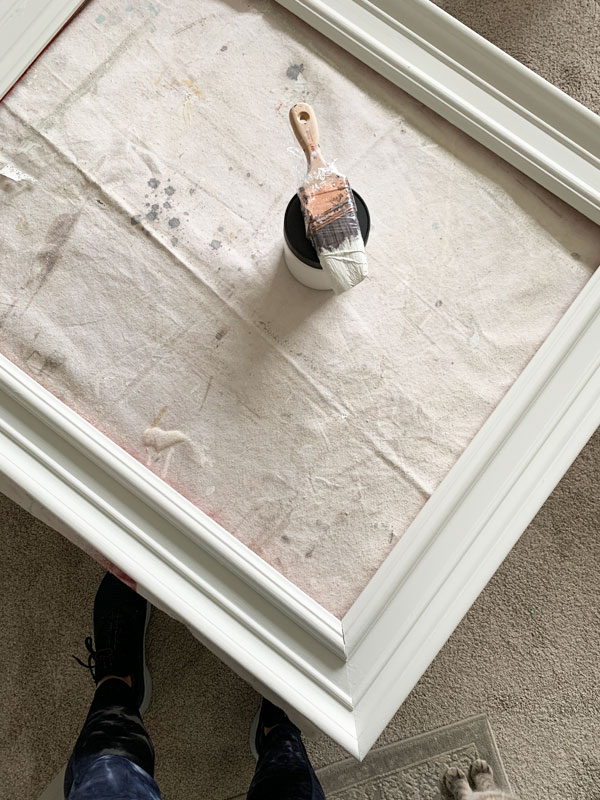
Later on giving my frame a practiced cleaning with White Lightning, I proceeded to give my frame a glaze of Slick Stick:
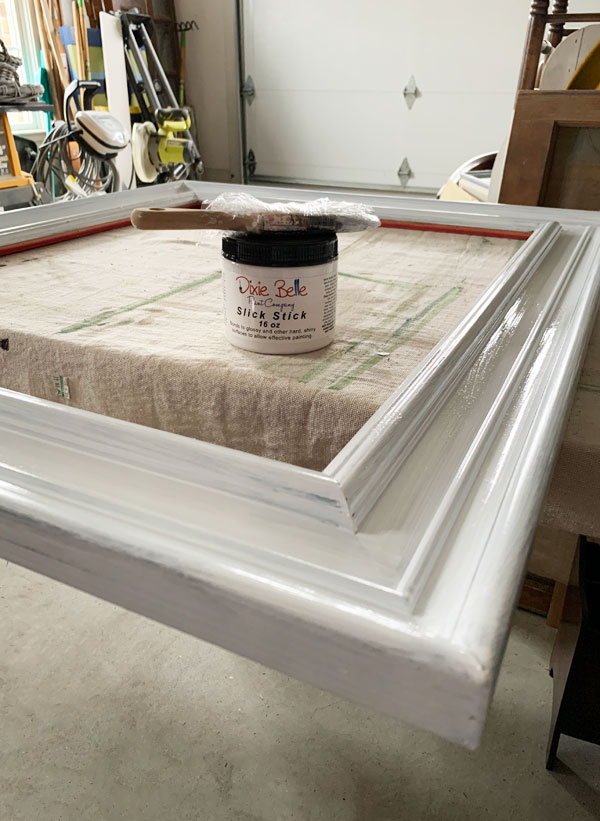
I allowed it to dry for two hours, and then followed up with i more coat. So, I permit information technology sit overnight.
Painting with Silk Mineral Paint
The next morning time, my mirror frame was ready for paint! I chose the Silk color, Oyster for this project:
I LOVE this colour! It has been a good seller, so I was really excited to try it on something. I know…it is just another neutral, simply whites and neutrals are my jam. I merely can't assist it! ( Do y'all spy my boss supervising in that photo? :D)
I waited ii hours and then followed up with a second glaze.
Read more almost Dixie Belle's new Silk All-in-One Mineral paint too equally the differences betwixt Silk paint and chalk pigment HERE !
Be sure to flip your mirror frame over and paint the groove where the mirror will sit, and so that you meet the same color paint in the reflection:
I could have chosen it washed at this point since the Silk Mineral Pigment has a built-in sealer, but I decided to take information technology a step further.
Adding a transfer
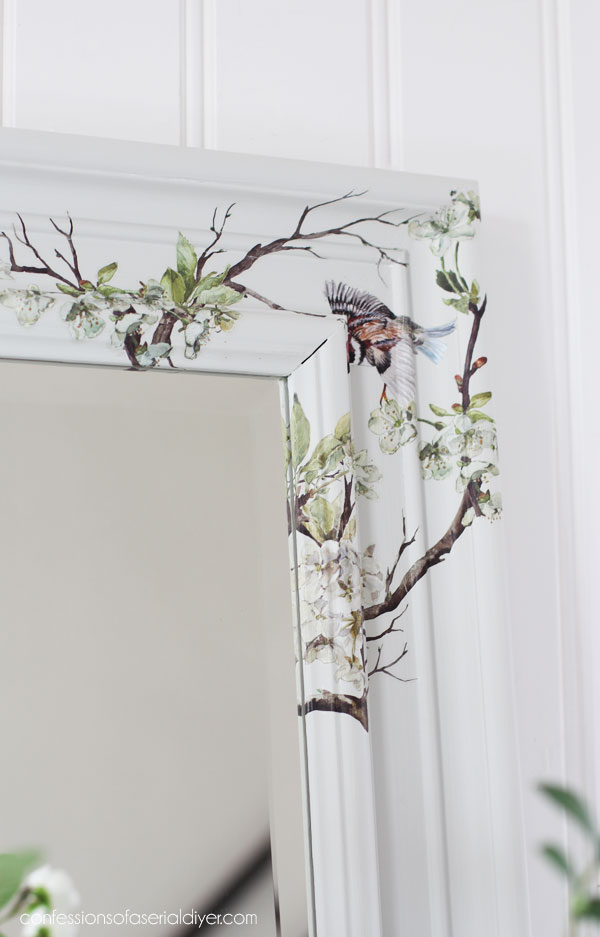
I had this pretty transfer in my stash and idea information technology would really wearing apparel up this otherwise plain mirror:
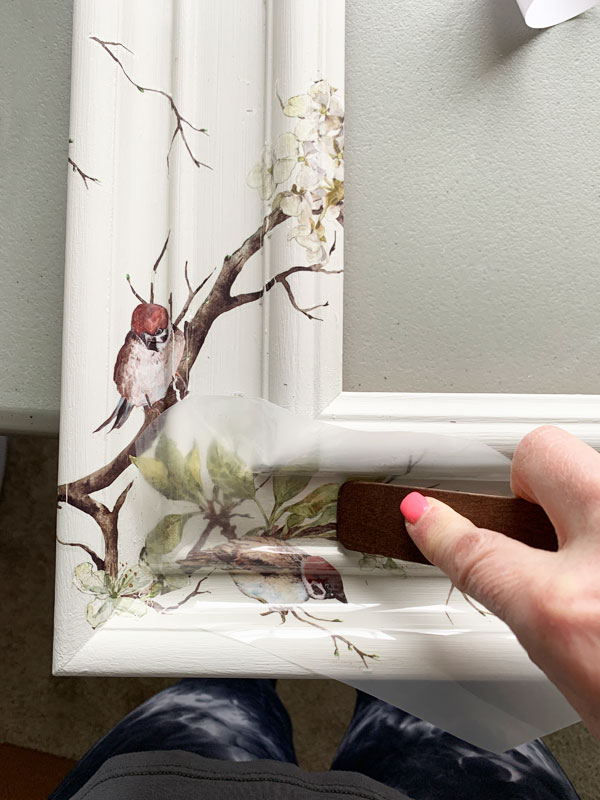
It is a chip of work to employ a transfer over trim work like I have here, but I was able to cut it in a few strategic areas and that helped. Once you cut the transfer apart, you can easily match information technology upward seamlessly with the remainder of the pattern. This transfer is called Bloom Flying by Resdesign by Prima. If you lot practise a search on Etsy, you will find several retailers that sell them.
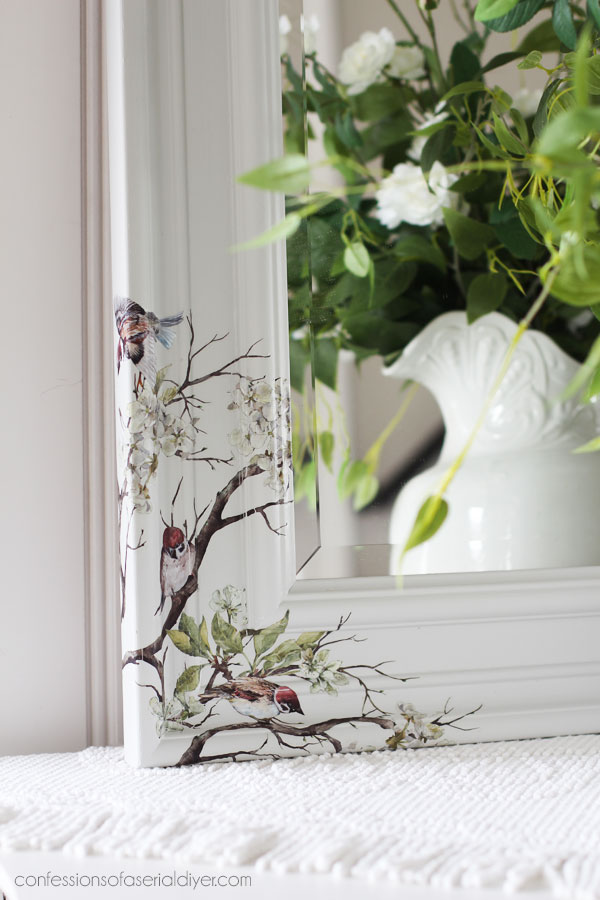
I continued to add bits and pieces of this transfer until I got a look I liked.
Putting the mirror back together
Before I reassembled the mirror, I used a razor blade to scrape away the pigment that had gotten on the surface of the mirror from the concluding person who had painted it:
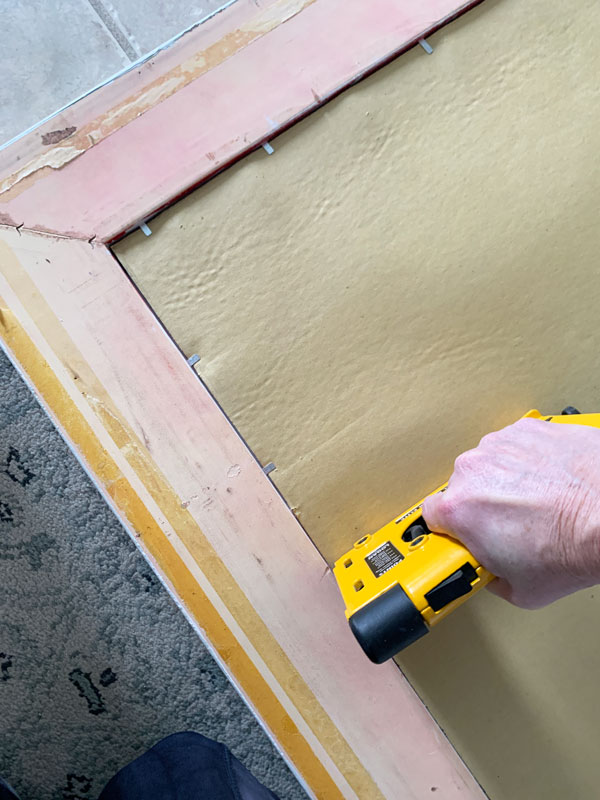
Then, to reassemble the mirror, I placed the mirror in the frame and added the cardboard that was on the back protecting it previously. I used my Logan Signal Driver to secure the mirror back in identify:
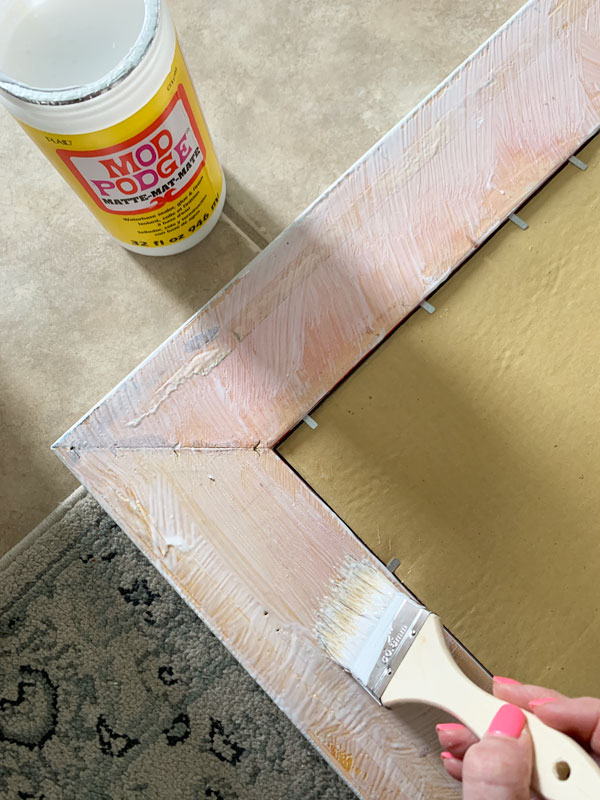
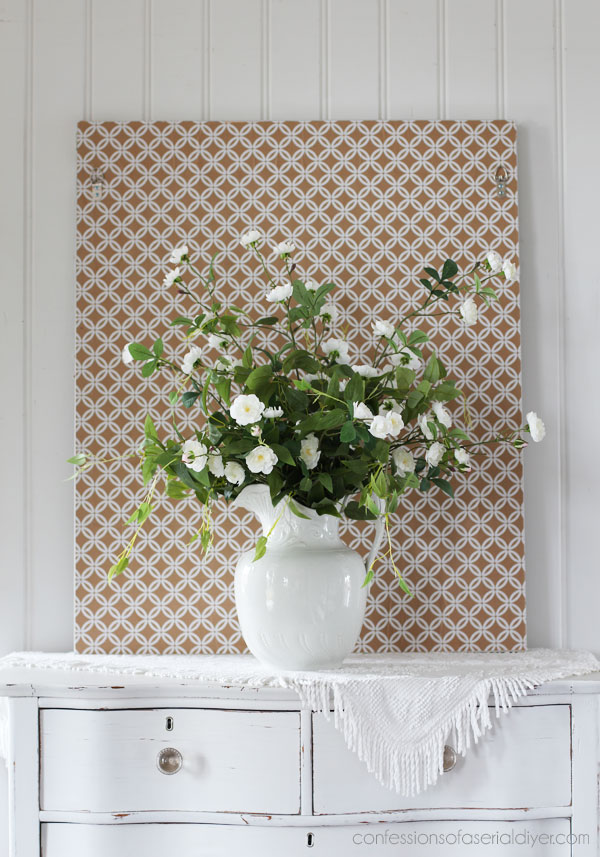
To make the back pretty, I showtime applied Mod Podge like a glue using a cheap chip brush, to the frame:
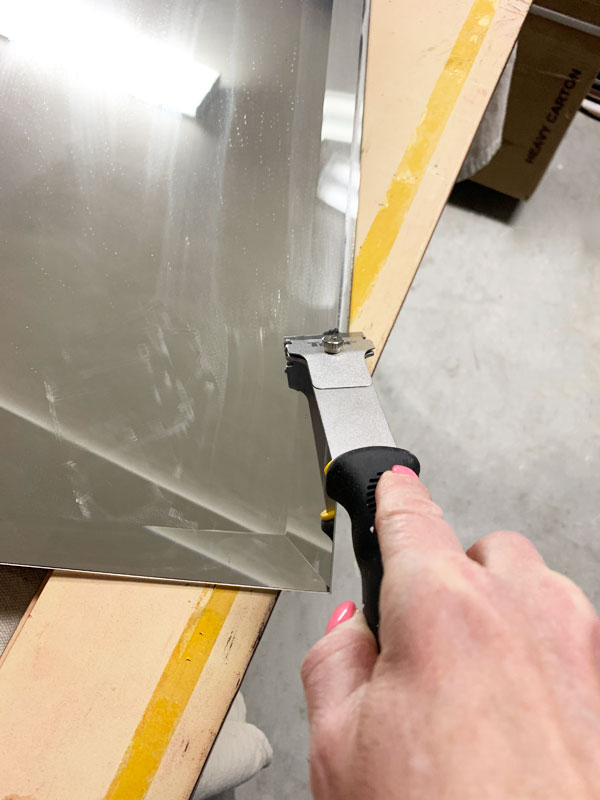
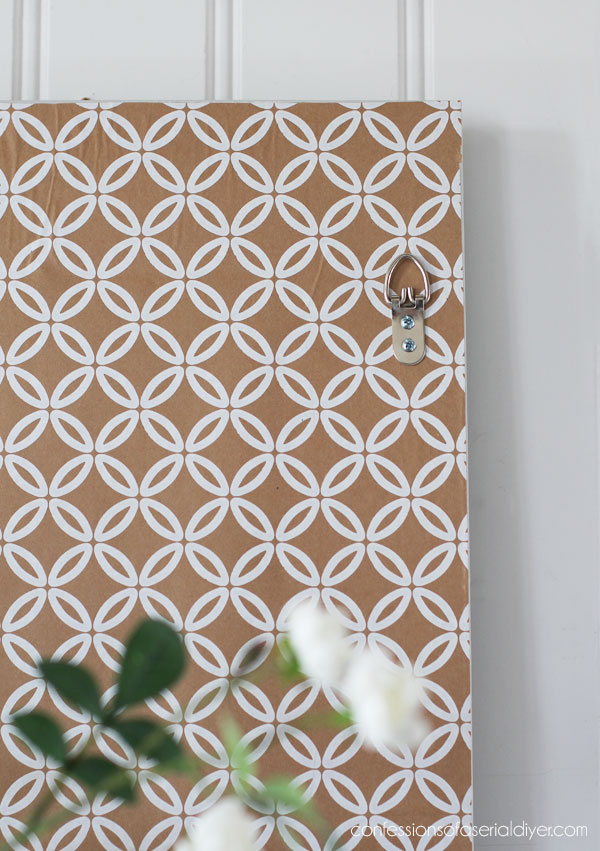
Then I covered the back of the framed mirror with this pretty patterned kraft paper:
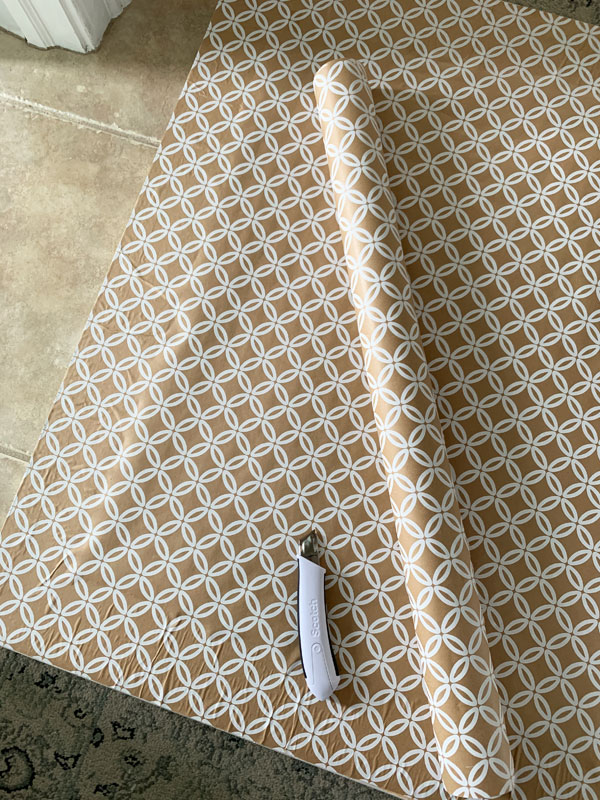
I used a utility knife to cut the excess paper.
The large reveal
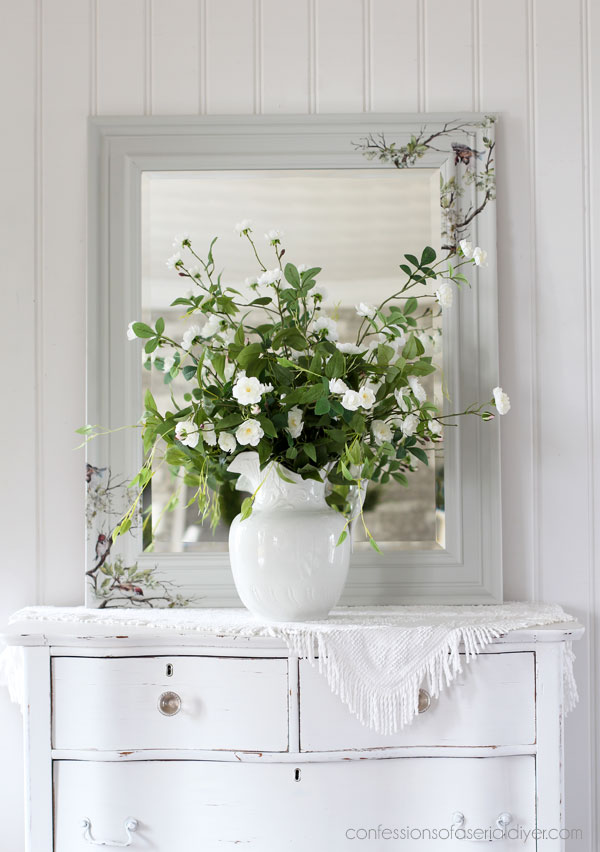
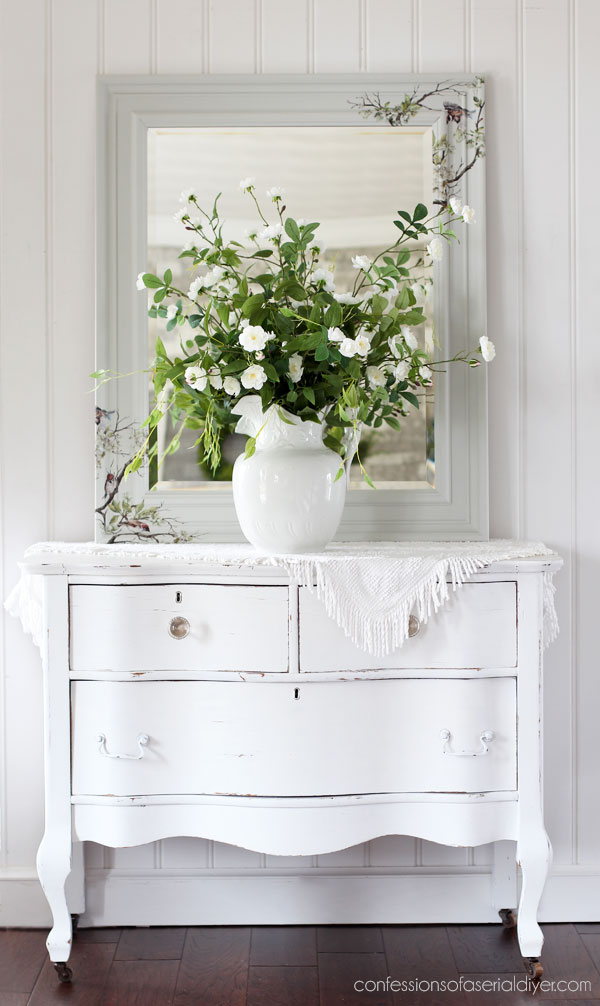
I couldn't be happier with how this mirror, that I almost gave up on several times, came out:
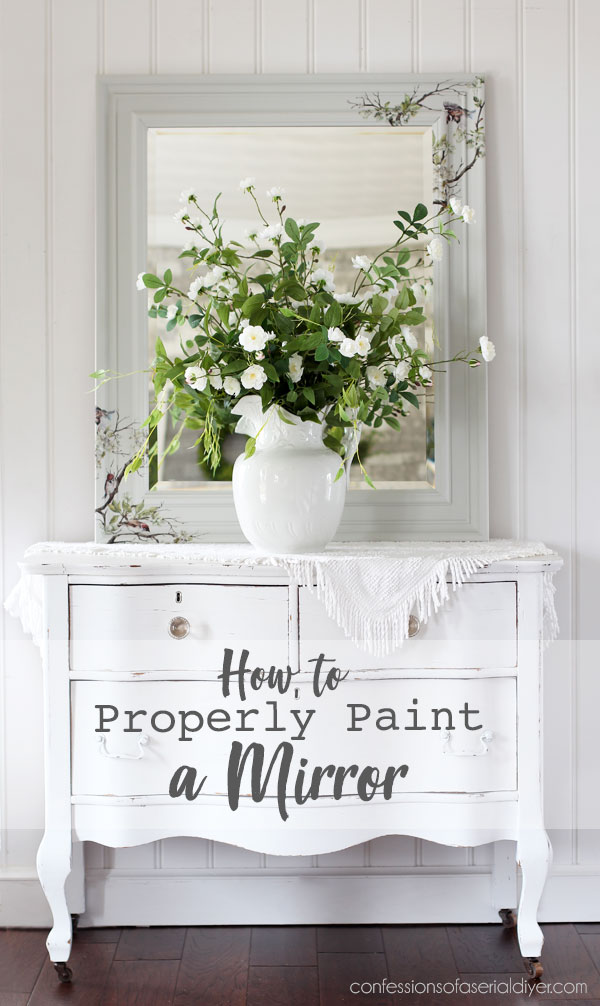
In the in-progress photos, Oyster just looked like another shade of white. Pairing it with this bright white dresser, you can see what a lovely contrast it is to the bright white.
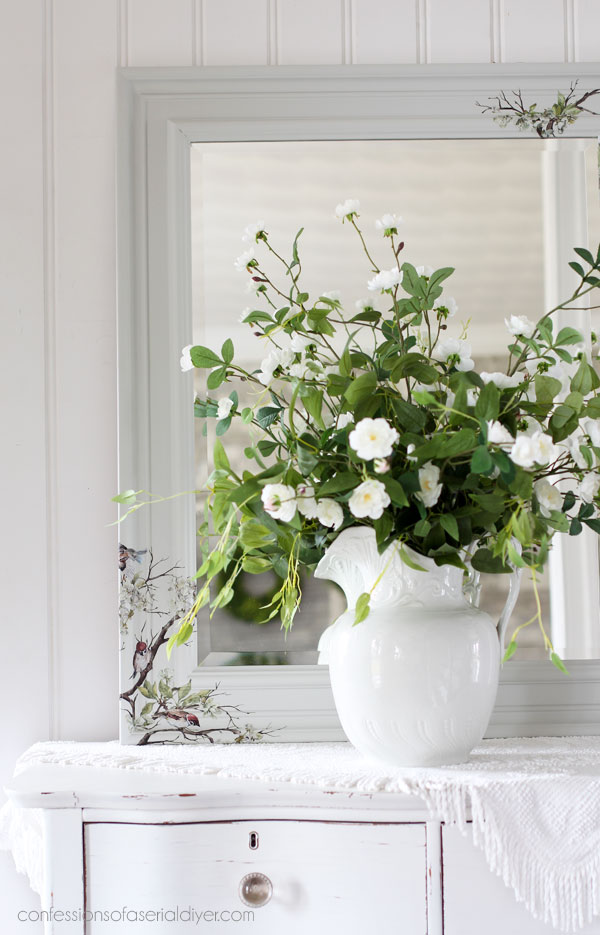
And the transfers really add so much to this unproblematic mirror…
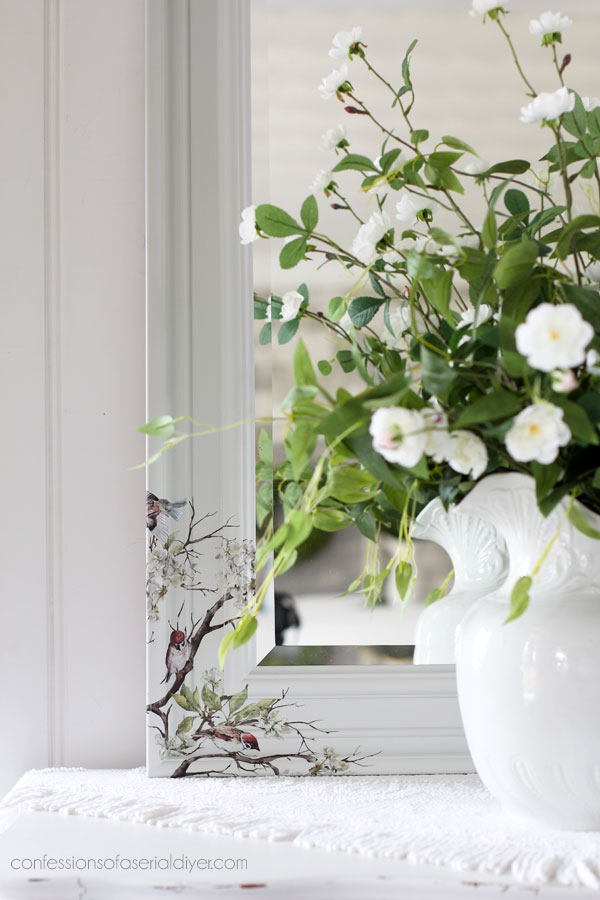
I wrapped the transfer all the way to the edge, both on the inside every bit you can see it reflected in the mirror…
And on the outside:
Hither is the back…
I added the original D-band hardware for hanging:
And that is how y'all properly paint a mirror! It is a little more work, but well worth it!
Tin can you believe I virtually donated this back to the thrift store? I'm and then glad I didn't!
I promise y'all enjoyed seeing this mirror come to life as much as I did!
I am REALLY excited to finally phone call this one Done!
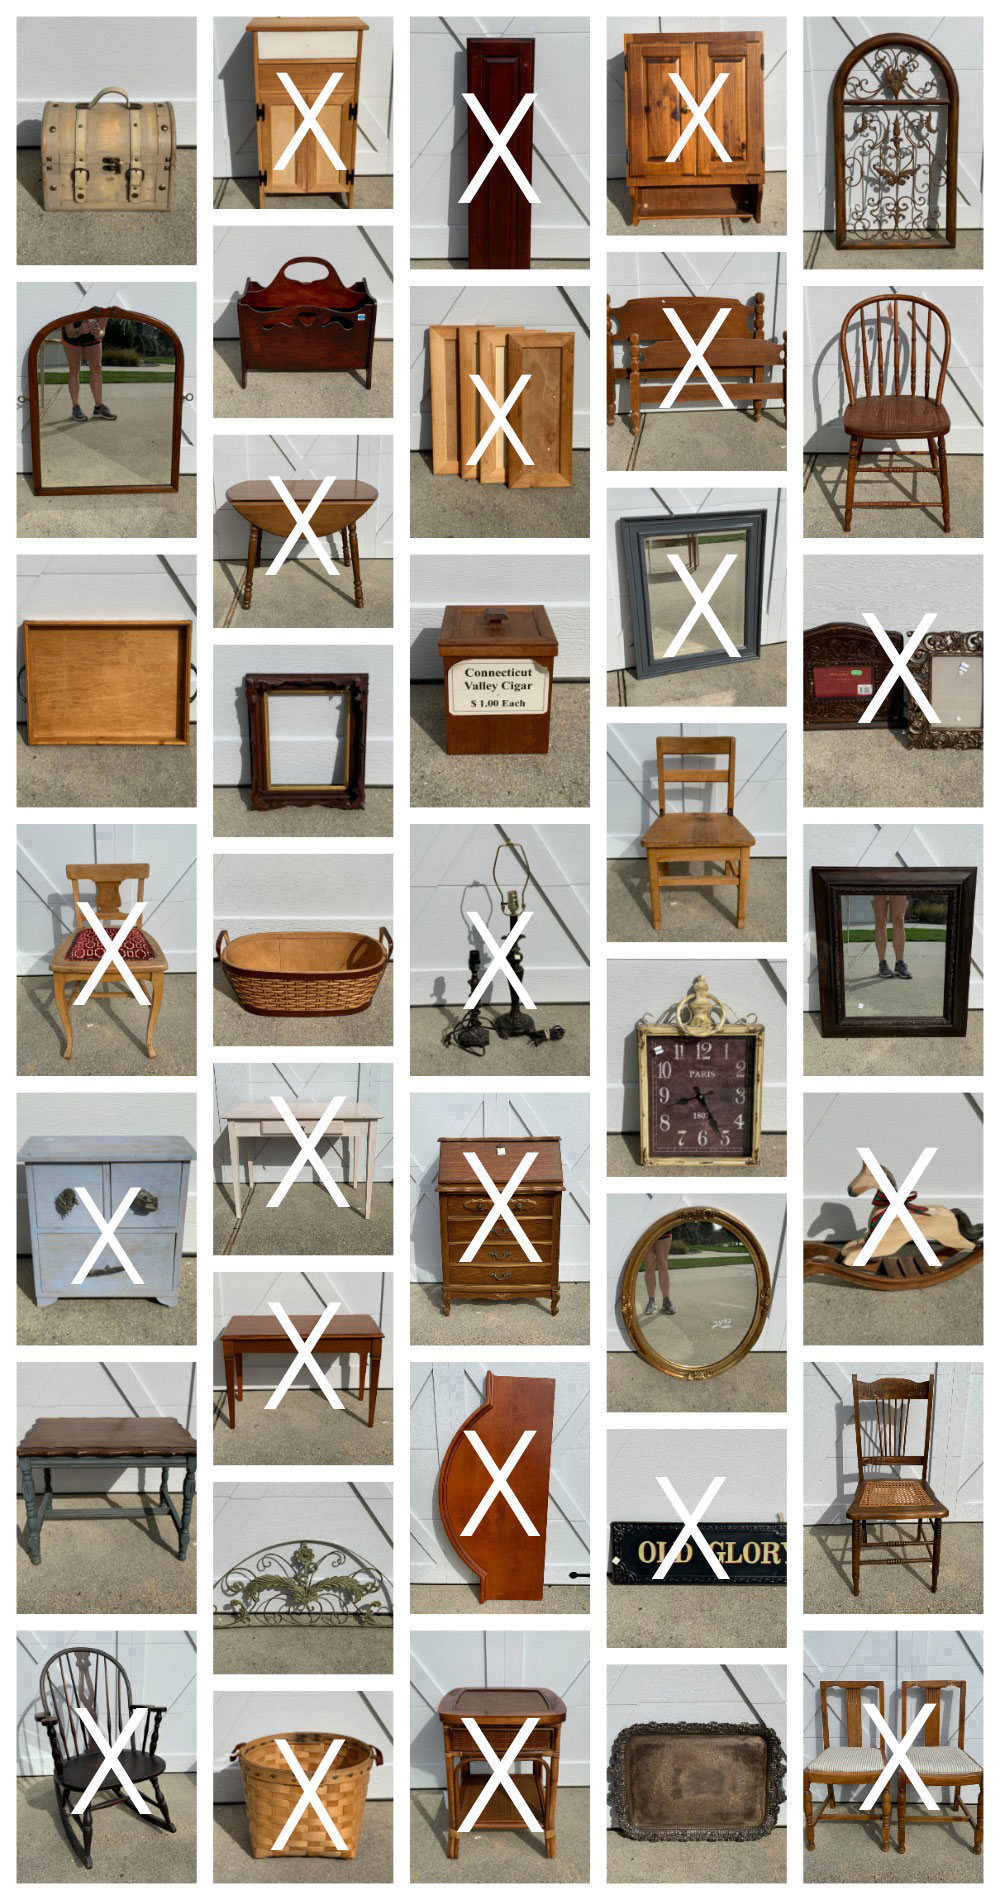
Here are links to all the makeovers in this haul so far!
Painted Austerity Store Lamps & How to Cover a Lampshade
Cabinet Doors Repurposed
$3 Trinket Box Makeover
Piano Bemch Makeover
$20 Thrift Store Desk Makeover
$5 Thrift Store Chair Makeover & How to Use Silk All-in-One Mineral Paint
Unfinished Wood Cabinet Makeover
Cabinet Door turned Shelf
Painting the Smalls, Holiday Edition (Five of these pieces are in this post!)
Kudzu Painted Side Table
REPURPOSED HEADBOARD AND FOOTBOARD
VINTAGE Secretary Desk-bound MAKEOVER
$3 Thrift Store HEADBOARD REPURPOSED
WALL CABINET REPURPOSED
WINDSOR ROCKER MAKEOVER
DROPLEAF TABLE AND CHAIRS MAKEOVER
I'll be back on Thursday with this sugariness box I picked upwardly:

UPDATE! No need to wait, see how this box went from mass-produced to ane-of-a-kind here now!
Earlier I go, I just wanted to say a huge THANK YOU to all who go back and exit me a review for my Etsy Shop! I appreciate it SO much! You can also upload photos of your finished projects when you lot leave a review, and I love seeing what y'all create!
Take an amazing day!
XOXO,
![]()
Don't Miss a Thing!
If y'all similar what you see, there are several ways to follow along!
EMAIL *INSTAGRAM * FACEBOOK * PINTEREST * TWITTER

Source: https://www.confessionsofaserialdiyer.com/how-to-properly-paint-a-mirror/
0 Response to "Is There a Way to Paint a Mirror So It Reflects Again"
Enregistrer un commentaire